How to Cook Hard-Boiled Eggs
Updated Apr 07, 2020
This post may contain affiliate links. Please read our disclosure policy.
How to Cook Hard-Boiled Eggs is one of the most common questions we get here on Platter Talk. Thinking that most people know how to cook a hard boiled egg is an assumption that we all too often make in error. Although many of us think that we know how to do this seemingly simple cooking task, it is common to cook a hard-boiled egg poorly without even realizing it.
How to make them
Throwing some eggs in boiling water and sort of forgetting about the time is easy. That’s because a hard-boiled egg will look pretty much the same on the outside if it cooks for 10 minutes or for 30 minutes. Just like people, it’s what’s inside the shell that tells the true tale.
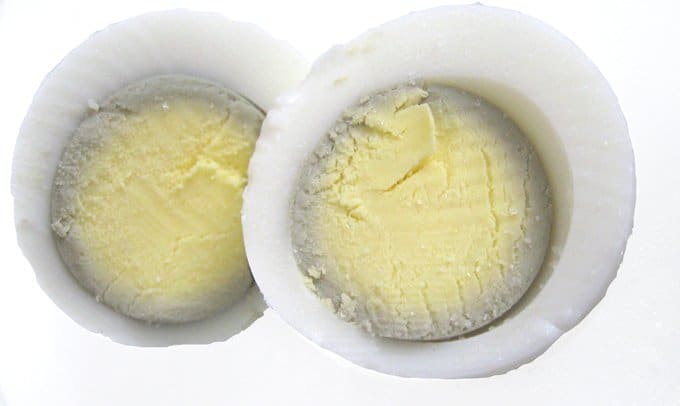
An overcooked egg is tough and the yolk will be dense and hard. The white can emit an unpleasant odor, leading one to question the freshness of the egg. The deeper the rim, the more overcooked the egg.
Today, you’re going to learn how to cook Hard-Boiled Eggs
and get the BEST results!
A hen’s body temp is about 105℉. Why do you need to know that? Because it will help you to understand why peeling a hard-boiled egg is sometimes difficult and sometimes a breeze.
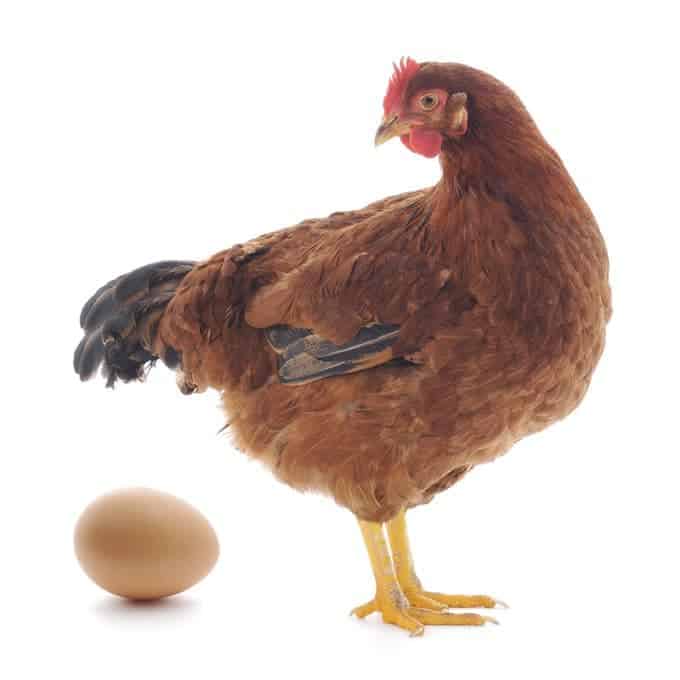
When an egg is first laid, there is a membrane-lined shell with an egg sack inside, which is contained by its own membrane. They’re almost the same size except for a very small air cell inside separating the two membranes. As the freshly laid egg cools down to room temperature, the liquid inside the egg sack contracts and pulls away from the shell, separating the two membranes.
As the egg further ages, carbon dioxide and moisture from the liquid escape through the porous shell. Air passes to the inside of the shell, adding more space between the inner and outer membrane. This is the reason why it’s so difficult to peel a fresh egg when hard-boiled. There isn’t enough air between the two membranes of the egg sack and shell. When you try to peel the shell from the egg, the white sticks to the shell-like glue. One can end up throwing a good portion of the white-out that is adhered to the shell.
Save This Recipe for Later (You’ll Want It Again)
⭐ Most readers end up making this in a few days.

To avoid this dilemma, use eggs that have been stored in your fridge a week to 10 days. This will ensure that an ample air pocket and membrane separation has occurred, allowing for a smooth peeling process.
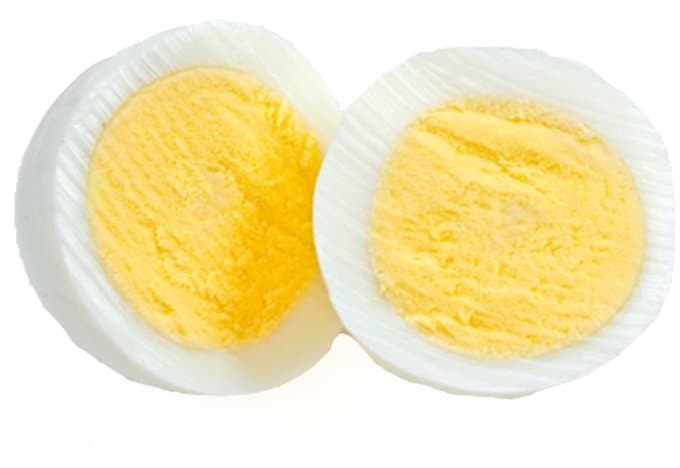
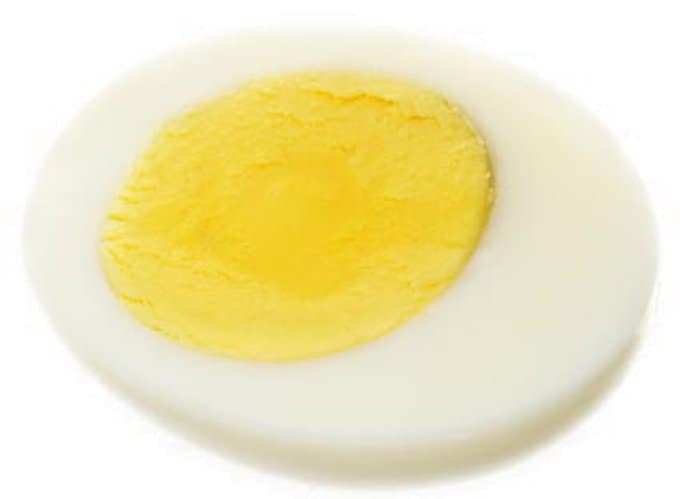
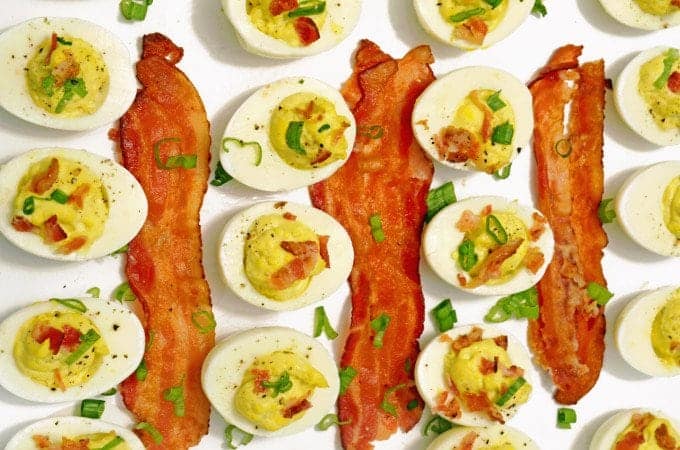
Want some uniform, centered yolk eggs? About 24 hours before cooking your hard-boiled eggs, open up the carton and flip the small end up so it’s facing the top. Place carton back in the fridge. This helps the yolk center before cooking. With this step, when you slice your cooked and peeled egg in half (for deviled eggs, perhaps) you should have a beautifully uniform, bullseye and centered yolk.
Now for the actual cooking:
This is pretty easy too. One just needs to pay attention to the TIME and TEMP. No, you don’t have to get your Taylor thermometer out. You only need to be able to read the clock or set a timer
- Choose a pot of your choice of size that has a matching lid.
- Place only enough eggs to make one layer inside your pot.
- Next, pour enough cool water over the eggs to make the depth of water one inch or so over the top of the eggs.
- Turn heat to high and wait for water to come to a rolling boil. That means large bubbles form and cause visible movement in your pot of eggs and water. The temperature is now at 212℉.
- At this point you are ready to cover the pot and remove from heat.
- Now starts the count down. Eggs should stay in covered pot for the following minutes:
- Extra Large -15
- Large -12
- Medium -9
- While you’re waiting for the eggs to cook, place ice in a bowl of water.
- As soon as the eggs are ready, place the drained eggs in the bowl of cold water and let them stay there until completely cooled down. This stops any carry over cooking, eliminating the chance of the tell-tale green ring around the yolk. 10 minutes should easily do the trick.
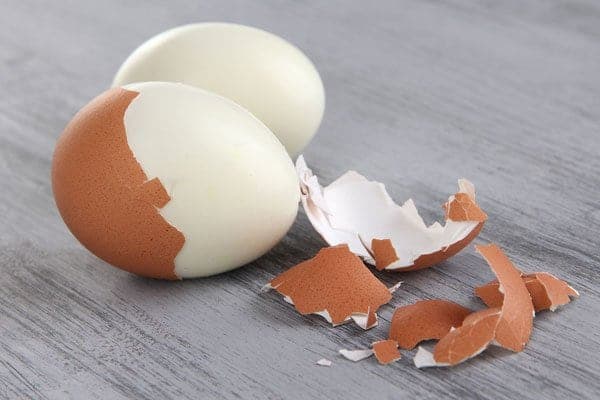
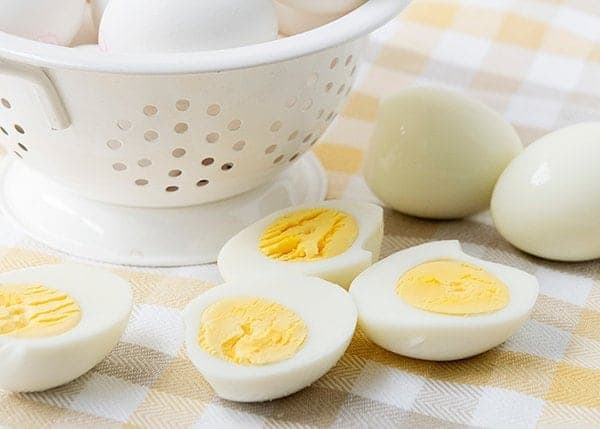
To peel, pull an egg from the water and gently tap it against you kitchen counter in 3 or 4 places, rotating as you do so. Once this is done, the shell should come right off. If you place the shelled egg back in the water bath it will help eliminate any small pieces of shell that might still be stuck to the egg.
Hard-boiled eggs may be kept refrigerated for up to a week. You can keep them in the shell and peel as needed or you may place peeled eggs in a container and cover with water. If you are storing the eggs in water, keep them tightly covered, changing the water daily.
TIP:
Sometimes hard-boiled eggs end up in the same container as raw eggs. How to tell the difference? A hard-boiled egg, when placed on a flat surface on its side, will spin longer than a raw egg.
Fun Fact: Make your eggs in a rice cooker! Find out here: How to Cook Eggs in a Rice Cooker.


Well I have been doing it wrong all of these years!
This is a truly useful post. I did one on this subject too. It is hard to get the eggs done right so they are easy to peel. thx for sharing.
Perfect timing, right before Easter! I am always forgetting about my eggs and way overcooking them 🙂
I need a reminder, too!
That’s funny. A few college friends and I had this conversation last summer so we did an experiment. Just to see who’s method worked the best. I won because I have always done them just like you do! Great post!
Cool! You must be a natural!!!
It is funny how boiling an egg can go so wrong. And I’m sure everyone has experienced the go wrong version, and had to start again. Something so simple has to be just right for that perfect egg.
I refer to the over cooked eggs as bouncy balls, LOL.
great useful tips on how to boil an egg! Thanks!
What a great post! I think so many people learn how to cook hard boiled eggs when they’re first learning to cook, it’s simple but can still be somewhat tricky.
Thanks Rae. I thought that it would help get everyone in shape for coloring eggs. : )
Right? When you first learn, just getting the yolk means perfectly done!
So many great tips here! Hard boiled eggs were one of the very first things I learned to cook as a kid, so I’ve been making them for years, but had never heard half of these. I especially love the tip about telling a cooked egg from raw. So useful!
Thank you, I’m happy that you found the post useful.
Ya. The raw colored Easter egg was always the “go to” prank when the Easter Bunny visited. : ]
Useful tips! I have to say it’s really super easy to just forget the eggs in the boiling water! To peel eggs easily I break the shell lightly and take the egg through cold water or keep it in water for a few minutes before removing the peel in one go.