How to Make a Pie Crust from Scratch
Updated Dec 11, 2020
This post may contain affiliate links. Please read our disclosure policy.
The truth is, few things in the kitchen have ever intimidated me. Making a pie crust from scratch was the exception.
With some flour and a little ice water and cold butter, I’m going to show you how to make an easy homemade pie crust.
How to Make a Pie Crust from Scratch
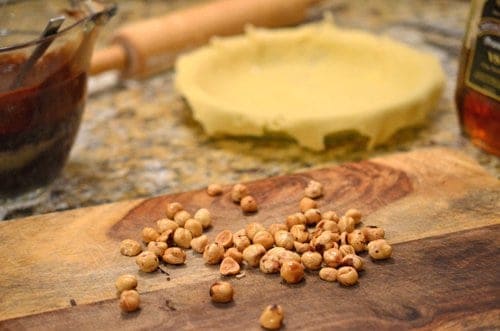
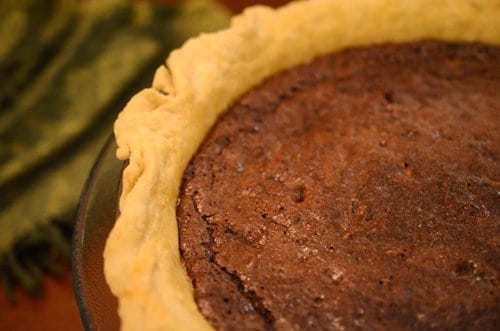

Our Brandy-Infused Chocolate Chess Pie with Roasted Hazelnuts
There was a time when the thought of making a pie crust could put me into the same state of mind as getting my yearly taxes together. Panic mode would set in. I hadn’t made pie dough often but when I did it seemed as tho I was never sure of what I was doing and it seldom turned out to my satisfaction.
While growing up, I’d watched my mother and sisters make pie crust with the seemingly mindless effort that was required to fold a basket of towels. A no-brainer, for them. Why wasn’t it easy for me? Then one day, an old saying came to my mind. “How do you get to Carnage Hall? You practice, practice, practice.” I had to practice.
Ingredients for homemade pie crust
- Flour
- All-Purpose flour or Pastry Flour both work. Try different combinations of each to get the type of crust that your looking for.
- Fat
- You can use straight butter (best flavor) lard (homemade lard may add a savory flavor) or shortening (easiest to handle) or a mixture of any of the above. I’ve even seen vegetable oil called for as the fat.
If you are using straight butter, remember it starts to melt at 59*. With a body temp of 98.6* a pastry cutter might work out better then using your hands to mix.
- You can use straight butter (best flavor) lard (homemade lard may add a savory flavor) or shortening (easiest to handle) or a mixture of any of the above. I’ve even seen vegetable oil called for as the fat.
- Ice water
- I use mostly ice so the water stays very cold.
- Salt
- Some recipes call for regular salt, others for kosher salt. You also have the option of mixing the regular salt with flour or with water.
How to make it
Use a bowl (metal) for mixing that will easily contain your hands and ingredients without spilling over when working.
- Place flour into a bowl.
- Cut in fat & salt with a pastry blender until your ingredients look like coarse crumbs.
- Gradually add water, by the tablespoon and while gently blending with a rubber spatula or wooden spoon.
- Watch for your crumbs to curd to the size of peas.
- If you are uncertain, add a tad more water. If the pie dough is too dry, it won’t stick together when your try to roll it out but if you add too much, you’ll end up with a tough crust.
- Once you add more water, and the dough sticks together when gently squeezed, you’ve got the correct consistency.
- Place your dough on a work surface and give it a few folds over onto itself
- Then, shape into a flat, 2 sided round, place in plastic wrap & refrigerate for 1/2 hour. This will give the gluten a chance to relax so that when the rolling time comes, it will stay put and won’t spring back.
Perfect Pie Crust, from The Pioneer Woman.
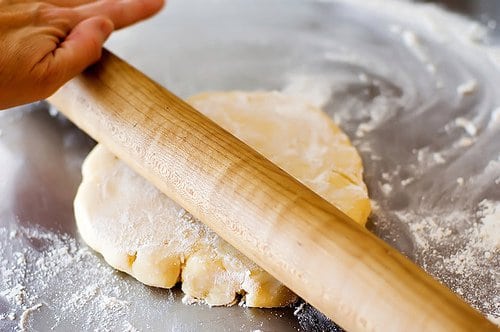
Rolling the dough was always tricky for me. First lightly flour your rolling board and rolling pin. I found that I was applying too much pressure and ended up with cracks and fishers all over my crust. With the help of my sister, I learned to ease up and apply a more evenly distributed roll. Start in the center and gently roll out to the edge, turning dough 10* at a time, making sure that the dough doesn’t stick.
“The truth is, few things in the kitchen have ever intimidated me. Making a homemade pie crust was the exception.”
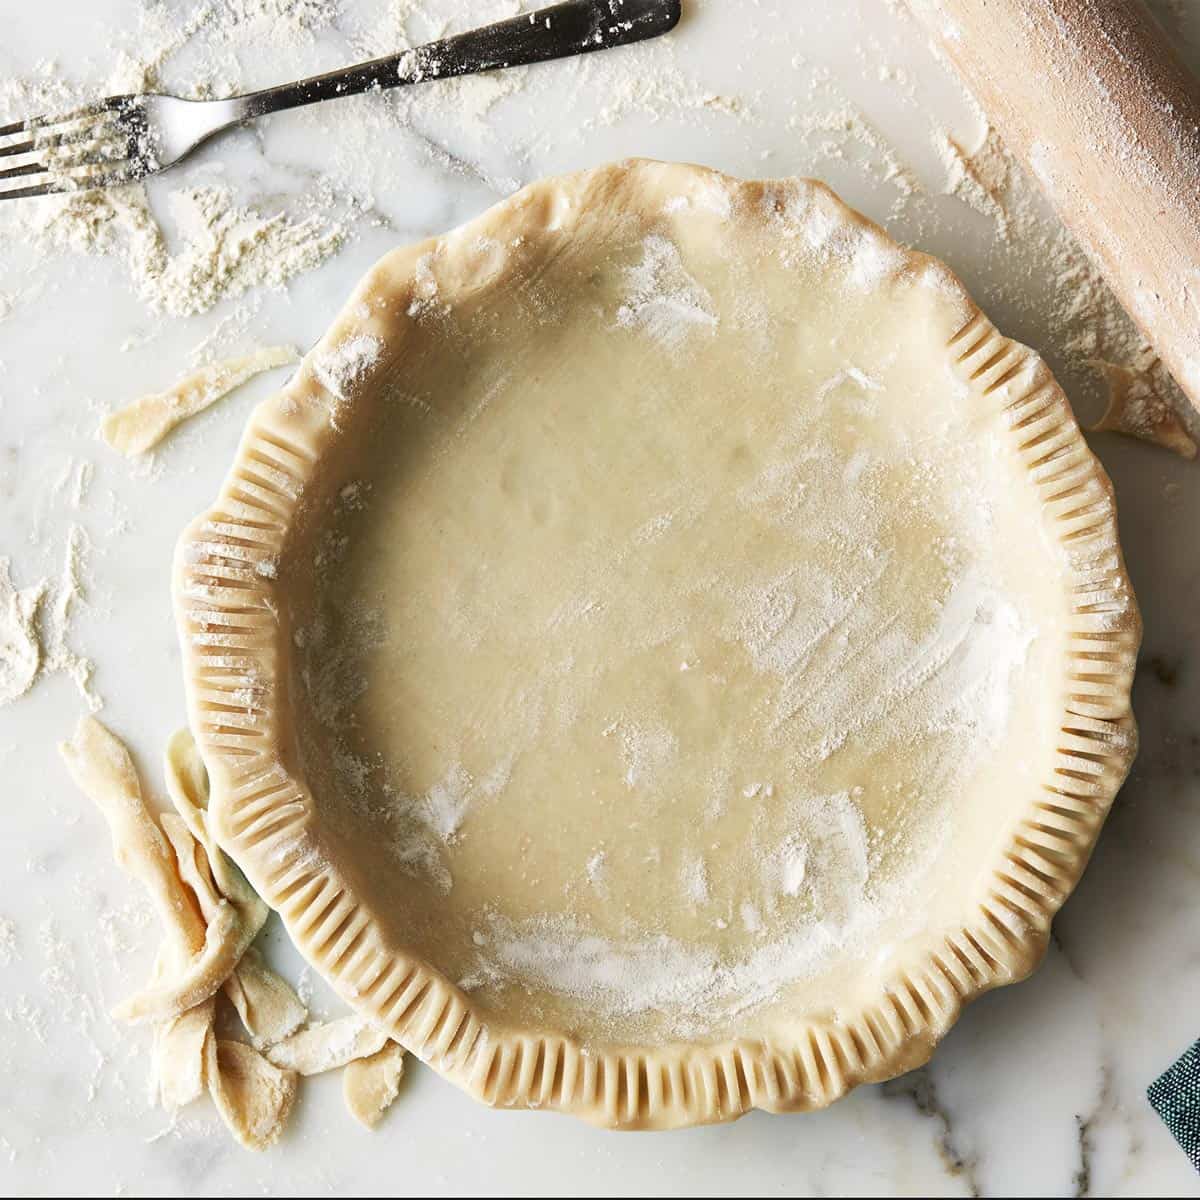
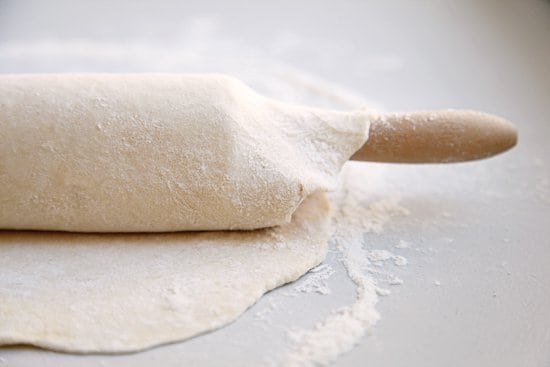
Try to end up with a dough that is round and approx. 1/8” thick. Roll the dough 1/2 way around your rolling pin and slide it into the pan. Or, you can 1/2 then 1/4 the sheet of dough and fold it in the pan. Let the dough find the corners of the pan by gently working and lifting dough to a smooth fit with your pan. If you stretch the dough, it will shrink during baking. Chill crust once again.
I think that my glass pans are my favorite for baking pies. I can see when the pie is done on the bottom. When I’m using a disposable aluminum, I always place it inside a glass pan to give the aluminum stability and more evenly distributed heat. I feel that dark pans absorb too much heat and have a propensity to burn. Shiny metal pans tend to deflect heat and make a soggier crust.
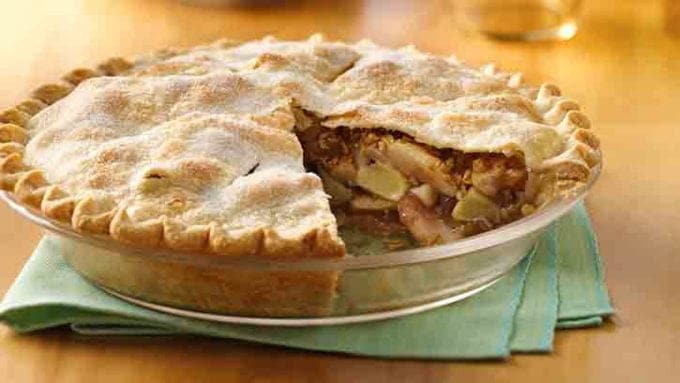
Depending on my filling and to avoid a soggy bottom, I put a baking sheet on the bottom rack of the oven. The pie enters the oven, place directly on the baking sheet at 475℉ for 15-20 minutes. This gives the chilled dough a shock of heat and helps to set the crust. Next, the temp is knocked back to 375℉ for about 40 minutes more.
Save This Recipe for Later (You’ll Want It Again)
⭐ Most readers end up making this in a few days.

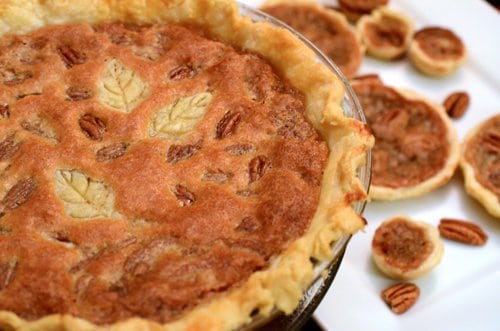
Our family recipe for Pecan Pie
About halfway through the baking time, I check the pie to see if the crimp in the crust is browning too fast. If it’s almost the color I’m looking for but still only halfway cooked, I know that I have to put aluminum around the top (in a halo, shinny side out) or I’ll have a burnt crust before the pie is actually finished cooking.
You will know that your pie is done soon after the aroma hits your nose. Look for steam and bubbles coming up through the vents and your pie will be done. Finally, allow the pie to cool until the contents are set, usually at least 15 minutes to a half-hour.
Homemade pie is a part of my heritage and like other foods that have been an integral part of my life, I’m often reminded of the people in my life that I associate with pie. My good friend Liz, who I grew up with, is a perfect example of this.
It’s with her immortal words that I dedicate our lifelong friendship with, through this post. “If I don’t get a piece of pie, I am afraid I’ll simply DIE.” Thank goodness, we have enough pie ideas right here on Platter Talk to keep Liz around for a long, long time.
Easy Homemade Pie Recipes
👨🍳 Tried this Recipe? Please leave a ⭐⭐⭐⭐⭐ rating in the recipe card below and leave a comment. We love hearing from our readers!
⏩ Stay in touch with us on social media by following us on Facebook, Pinterest, Instagram, and YouTube!
📬Get our Recipes delivered to your inbox for FREE!

Homemade Pie Crust
Save This Recipe for Later (You’ll Want It Again)
⭐ Most readers end up making this in a few days.
Ingredients
Instructions
- Combine flour, shortening, sugar, and salt.
- Work together with a fork until consistency is pebbly
- In separate small mixing bowl, beat egg and add water and vinegar, beat again.
- Add liquid mixture to flour and shortening then use a fork to stir and form into a ball. Roll out dough on a lightly-floured surface.
Notes
Nutrition
Nutrition information is automatically calculated, so should only be used as an approximation.


Step By step recipes are always to connect with. I loved it…
Please show your love to..
http://www.fitfoodiemegha.com/
I’m glad the post helped. Happy pie making!
Great Post! I whipped up a giant batch of pie dough this weekend for the upcoming season…definitely could have used these tips 😉
Hope it helps you. Honestly, it’s one thing that many chefs have trouble with. It just takes practice & everyone has their own tricks.
Great list of tips! I love the baking sheet idea.
I’ve made a fine collection of roofing tiles over the years, alternating with an occasional good crust out of the blue – finally realized that my hot kitchen is a factor. Once I *never* skipped or shortened the chilling you suggest (which the recipes I started out with didn’t mention) my record improved, though it’s still never been my best baked good.
I need to give your suggestions – including practice! – a try.
Your correct. The big chill is a big help! I know some people that shred their butter and chill before making the dough.
Now this is a great post. Thanks so much sharing. I may use your post as a link to make pie crusts (I’m planning on making a apple pie). Let me know if you are okay with that.
Thanks, I’m so happy that you enjoyed the tips. I would consider it an honor if you post a link. Thanks.
oooh I guess it’s pie season – although I make from scratch I dont think mine look as good as yours !
Well thank you. Judging from the posts that I’ve seen from you, that’s a real compliment!
Pinning this – I always make pie dough from scratch, and I am always looking for a new recipe to try, hoping to find the world’s most perfect pie dough! Pinning it for later, fall is when I go pie-crazy!
Same with my family- and at Thanksgiving time, there are so many pies we could skip the main meal! Thanks.
What a great tutorial. Your pie crusts look perfect–so flaky and tender. I love the tip to preheat a baking sheet and “shock” the pie crust. Genius! I will have to do that this Thanksgiving.
I’m glad you enjoyed the post. Please let me know how the new “shock” method works out for you. Happy Pie making!
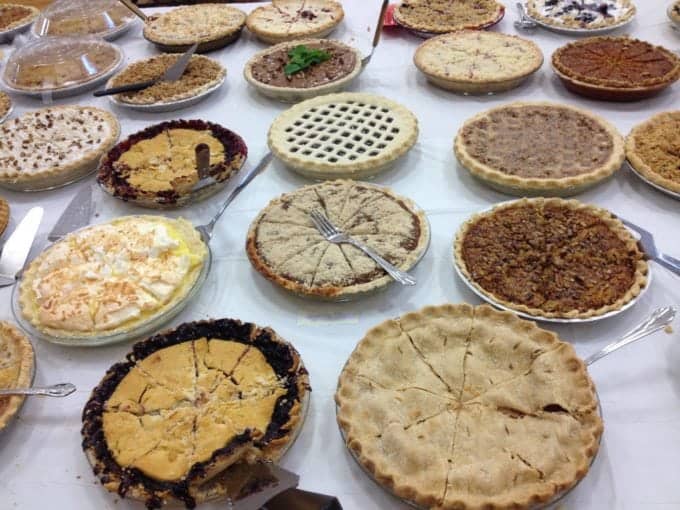
I love this post and that photo that shows a table full of pies!! Amazing!!
Thanks you. When I was a wee girl, crust was always my favorite part of the pie (if it was made well). Glad you enjoyed.
Pie crust has always been a vexing thing for me. I can make the pastry, no problem, but its the rolling out of the dough that ALWAYS is an issue. It sticks. I think it’s because I live in Florida and even though we run the A/C — I think it’s cooler in other parts of the country. I use extra flour (not lightly dusted) otherwise it’s just a mess. I confess – to using Pillsbury in a pinch!
I agree with you- it’s just one of those things. I have known more then one professional baker who has told me stories about “a bad crust day”, as well as bewildered friends and relatives! I avoided making them like the plague but then decided I just needed to practice till I was happy with the results. A chilled marble board might be of help in your neck of the country.
What a great post! I love making pie crust from scratch too. 🙂
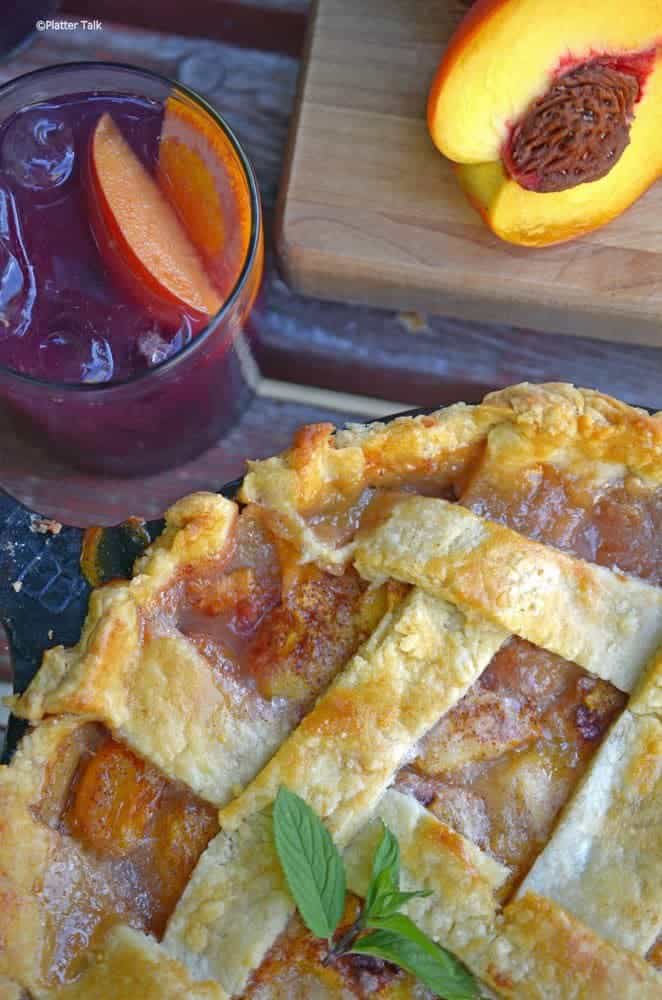
Thank you. I’m glad that you enjoyed. What’s your favorite pie? My SIL once made the best open peach and raspberry custard pie. It’s my all time favorite. Happy pie baking!