Date Cookies
on Dec 10, 2018, Updated Nov 27, 2020
This post may contain affiliate links. Please read our disclosure policy.
When I was growing up, date cookies were always a part of my mom’s Christmas cookie-baking routine. It’s been years since I had these date cookies, up until today, and now I am delighted to share this holiday cookie recipe with you and the rest of the world.
This post is sponsored in conjunction with ChristmasSweetsWeek. All opinions are our own.
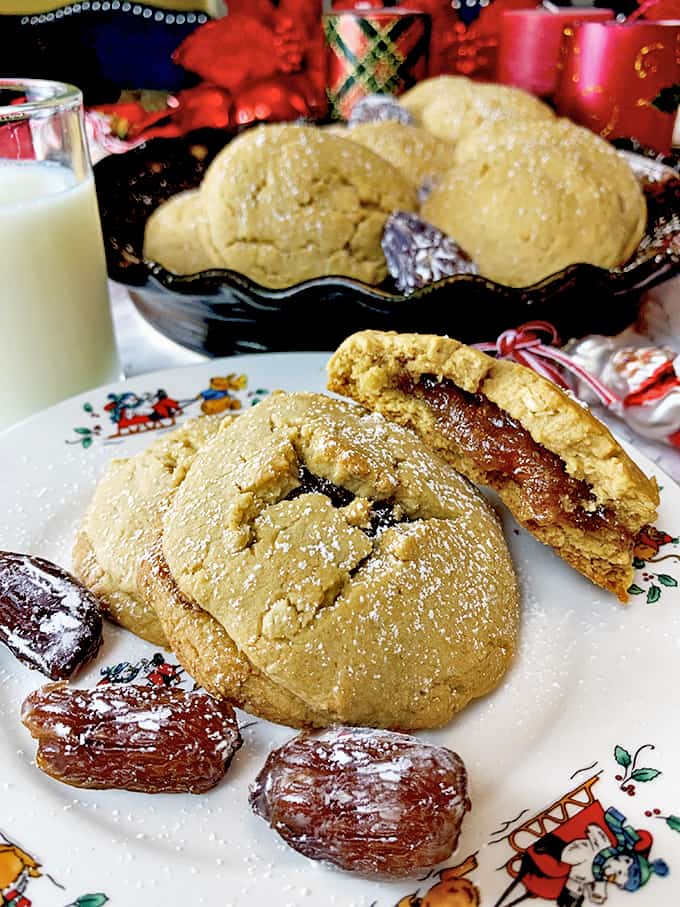
These date cookies are just one of our many Amish and Mennonite recipes.
Table of Contents
About these Christmas Cookies
It’s funny how certain foods can act as a time machine and transport you back, decades into the past. I think this is especially true for holiday recipes.
These date filled cookies come from the Mennonite Community Cookbook and as one of our boys pointed out, “They are datelicious!”
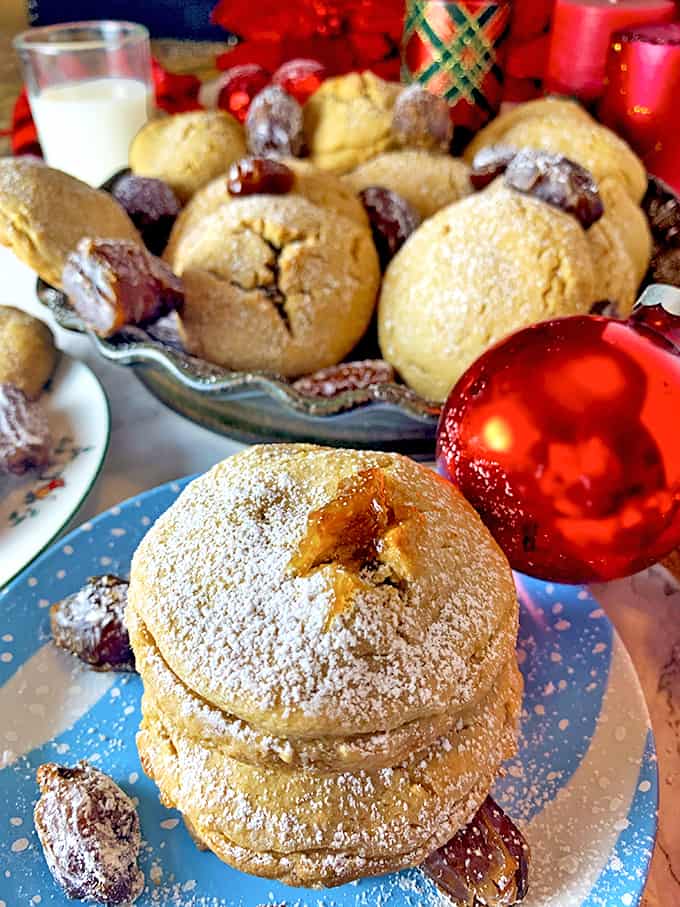
Christmas cookies have a way of evoking memories of days gone by.
I grew up surrounded by holiday treats of all sorts when I was a kid. Homemade hard candy, buckeyes, sugar cookies, dessert bars of every kind and so many other holiday desserts were a part of our family Christmas tradition.
One type of Christmas cookie that my mom always had on hand around the holidays was her sweet date filled cookies. My mom has been gone for almost 30 years, and I don’t think I have tasted a date filled cookie since her holiday baking days.
To help honor her memory and wonderful taste, I am making these Christmas date cookies here on Platter Talk, and you are going to love them.
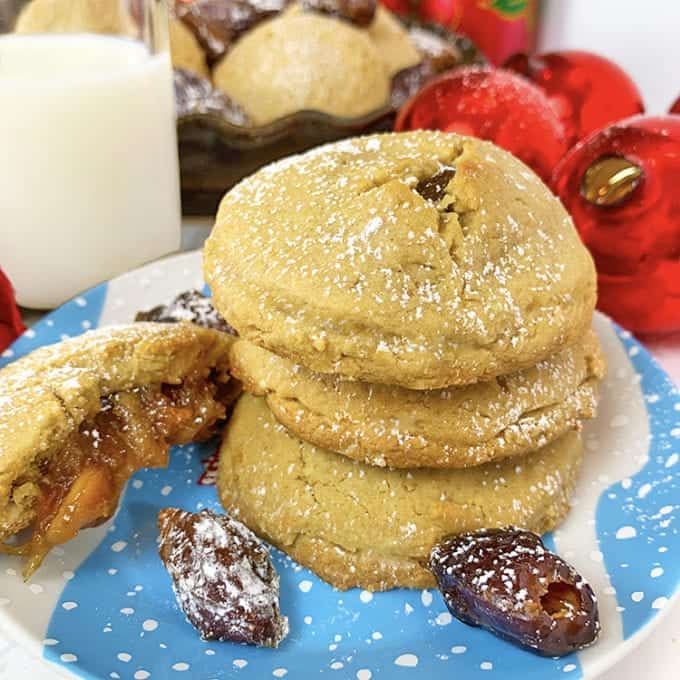
What do Dates Taste Like?
While I was putting these date cookies together, one of the twins strolled into the kitchen and asked me, “What do dates taste like?” Some people describe the taste of a date as a cross between a fig and a prune.
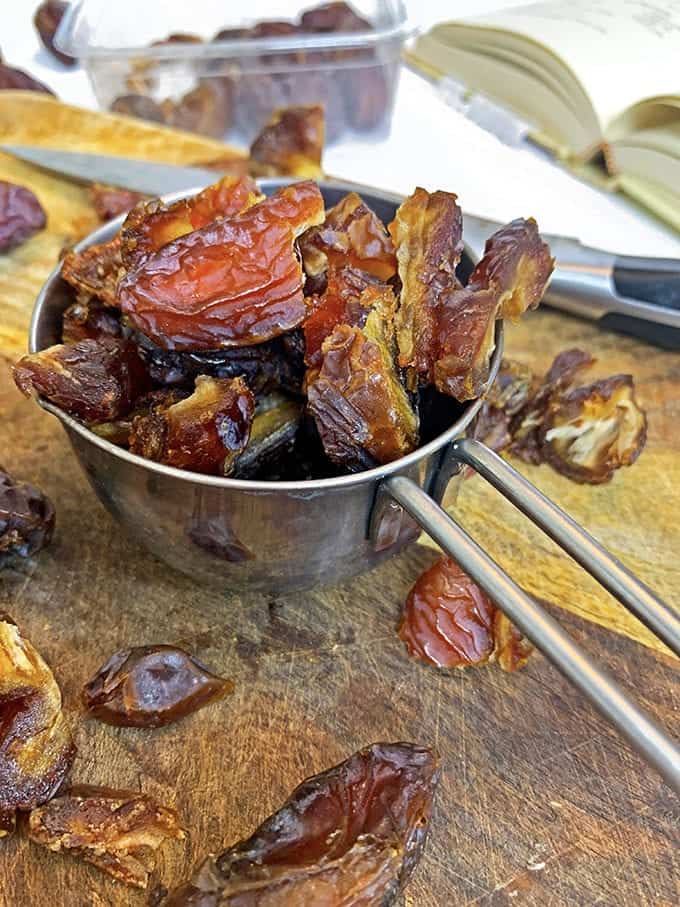
Dates taste like a sweetened cross between figs and prunes.
The natural sweetness of dates becomes concentrated as they dry, making them a perfect filling for these date-filled cookies.
What’s in These
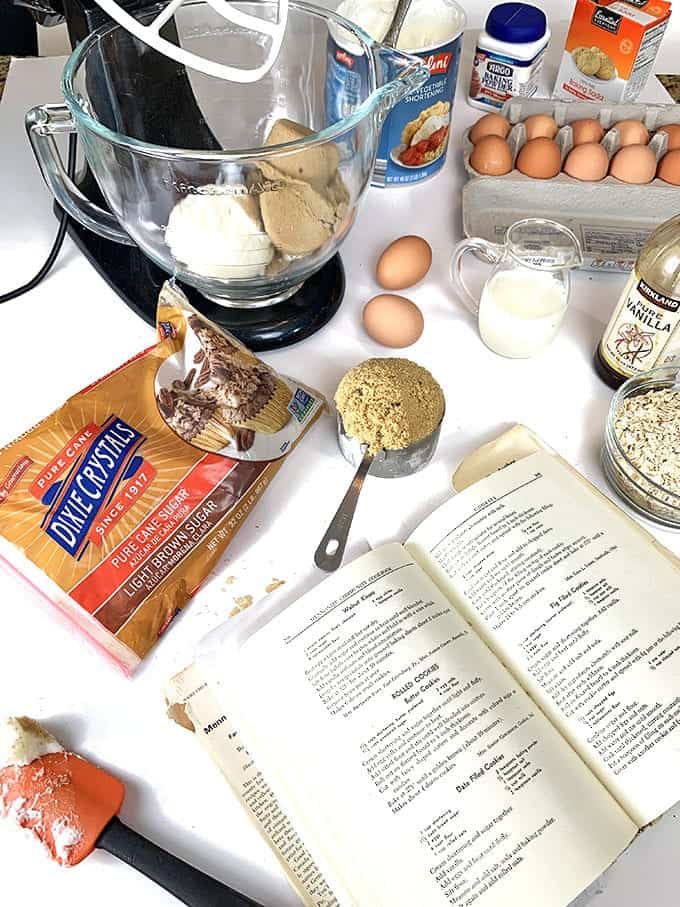
These date filled cookies start with the Mennonite Community Cookbook, the source for so many of the recipes that my mom would make.
- Flour
- Oatmeal
- Shortening
- Brown Sugar
- Eggs
- Milk
- Vanilla Extract
- Baking Powder and Baking Soda
- Dates
- Sugar
- Water
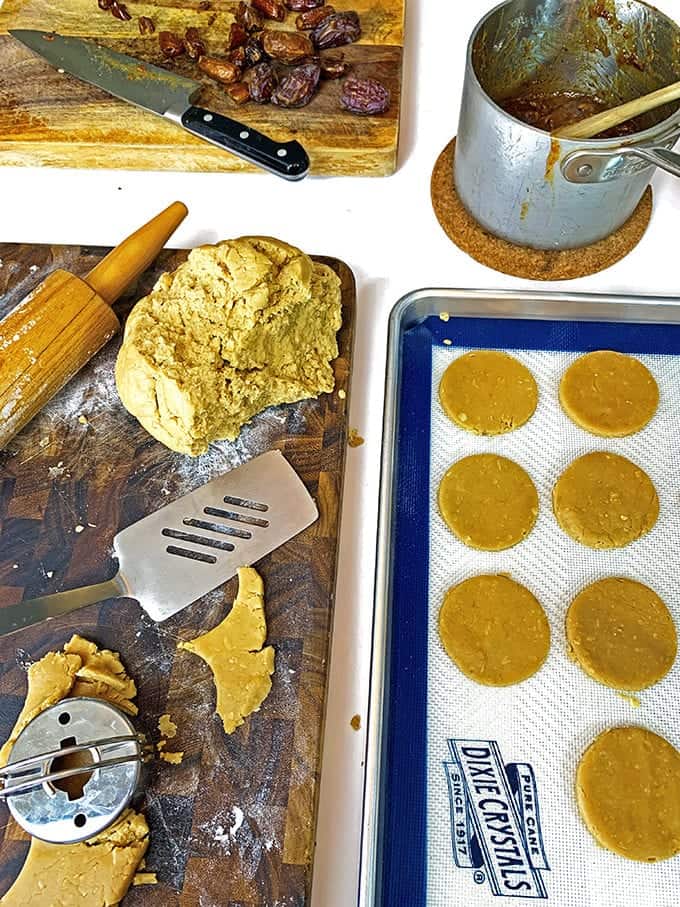
These date cookies are brown sugar and oatmeal cookies, filled with a simple date jam.
Except for maybe the dates, I’ll bet you have all the ingredients for these simple date filled cookies sitting in your pantry and waiting to be used. As you will see, there are two parts to this recipe for date cookies.
- The outside cookie
- The date filling
How to make them
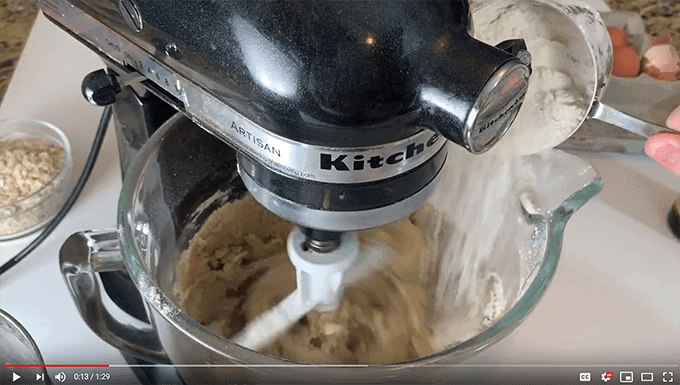
Have you ever heard of a worm gear? Watch the video to learn more
The biggest difference between my mom’s Christmas date cookies and this version is my use of our Kitchen Aid Stand Mixer. It’s a powerful kitchen tool and great for making so many different recipes.
We start the process of making these date-filled cookies like many other baking recipes: We cream the butter and sugar together with our stand mixer. Eventually, we add the dry ingredients to the mix.
If you use a stand mixer, take a look at the above video for some useful information about how to use your stand mixer for mixing thick or heavy dough recipes.
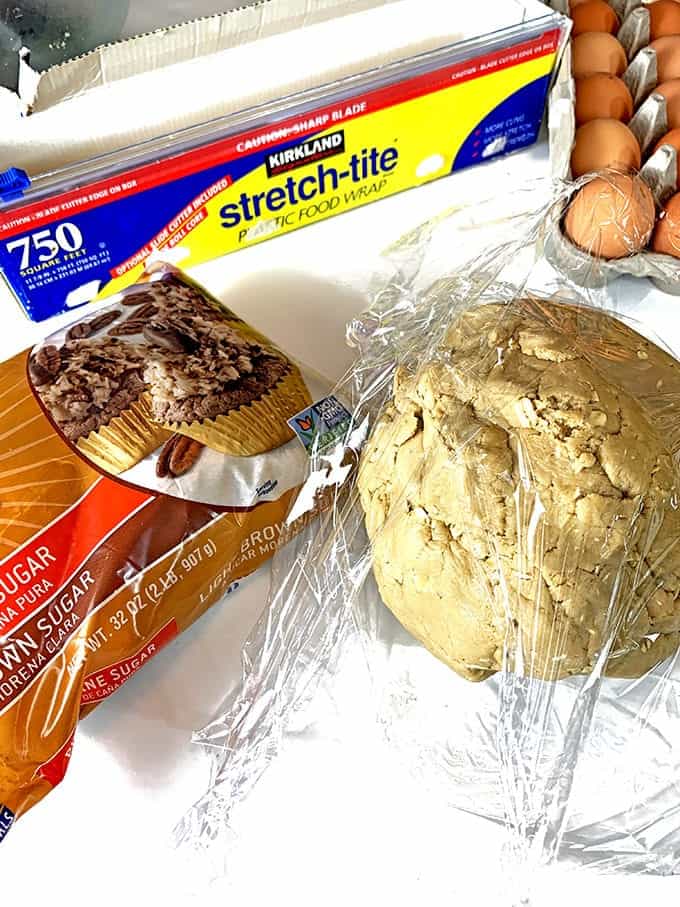
Once the dough is made, wrap it up and chill in the refrigerator for at least two hours.
You’re going to chill the dough for a couple of hours before rolling it out. Make sure you keep it air-tight, so it doesn’t dry out. I like to double wrap in a plastic kitchen wrap as shown above.
Shortly before you’re ready to take the chilled dough out of the refrigerator, you can start making the date filling.
Make the Date Filling
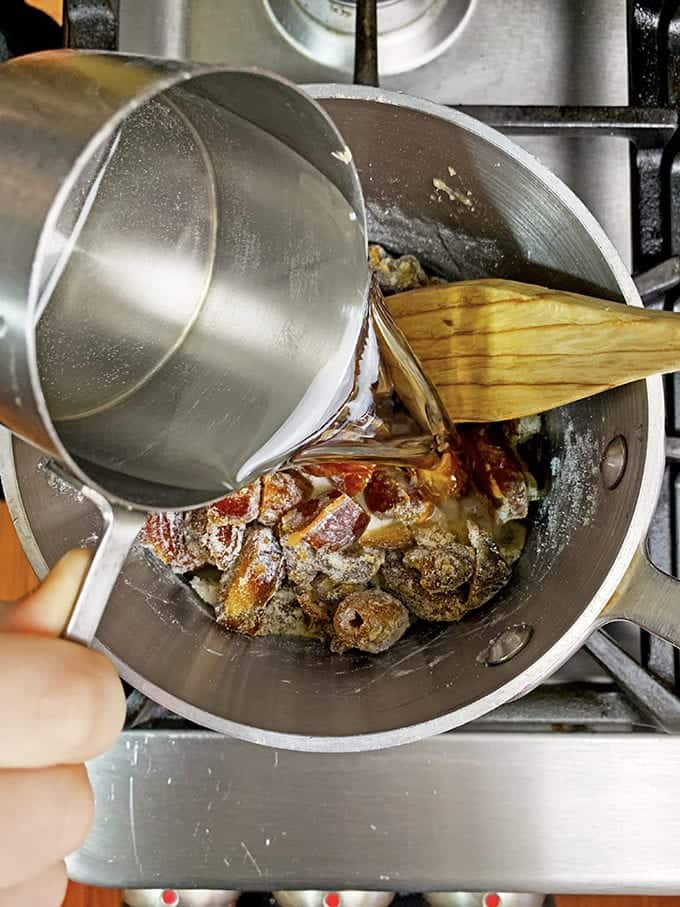
Heat the chopped dates with the other date filling ingredients.
After you chop (and pit, if necessary) the dates, you’re going to heat them with a cup of water, some sugar, and some flour.
The recipe calls for a cup of sugar in the date filling, but because the dates have a highly concentrated sugar content, I think you can get away by cutting the sugar to a half cup.
You will bring this mixture to a low simmer while stirring constantly. What you are looking for is a slightly chunky, jam-like consistency.
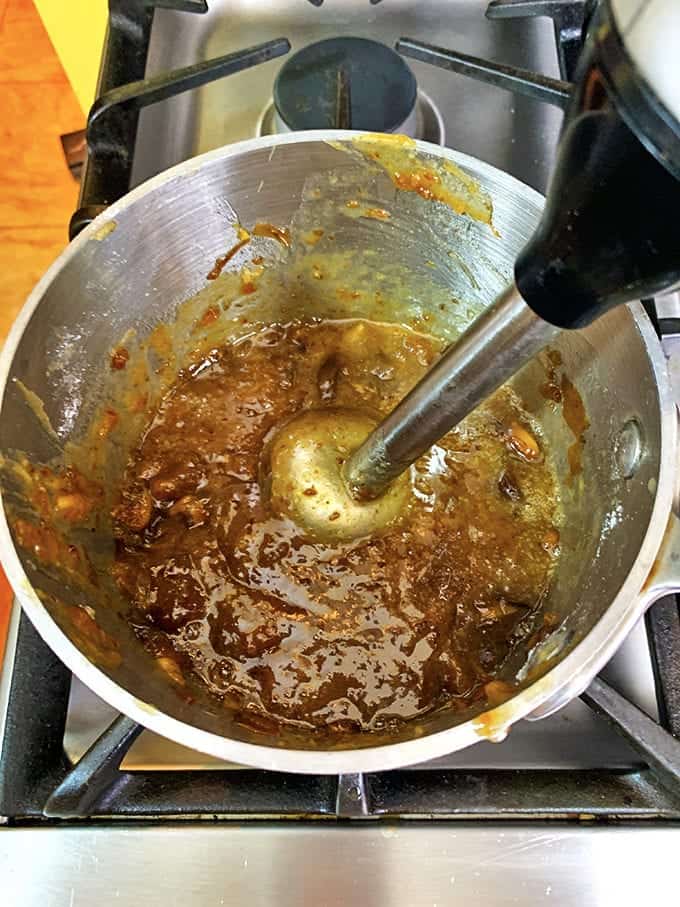
Use an immersion blender if you have one, while making the date filling.[/caption]
An immersion blender is helpful to facilitate this process, but a tincture of time and a good old fashioned wooden spoon will do the job just fine.
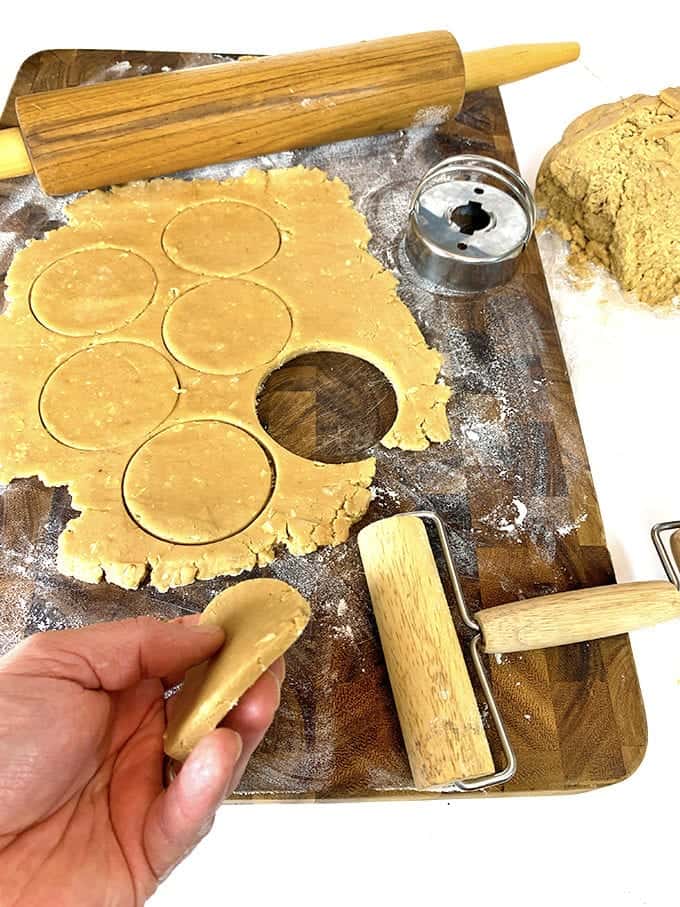
Each cookie layer should have a maximum thickness of 1/4 inch.[/caption]
After your dough is adequately chilled, you’re going to lightly flour a large cutting board and roll the dough out. Next, use a round cutter to cut out the top and bottom layers for these date cookies.
I use a donut cutter but can even use a small drinking glass. Just be sure the dough is no thicker than 1/4 inch.
You’ll see that I use both a large rolling pin and a smaller pizza roller, which I think gives me better control of the dough. These pizza rollers are an inexpensive and handy tool to have in your kitchen!
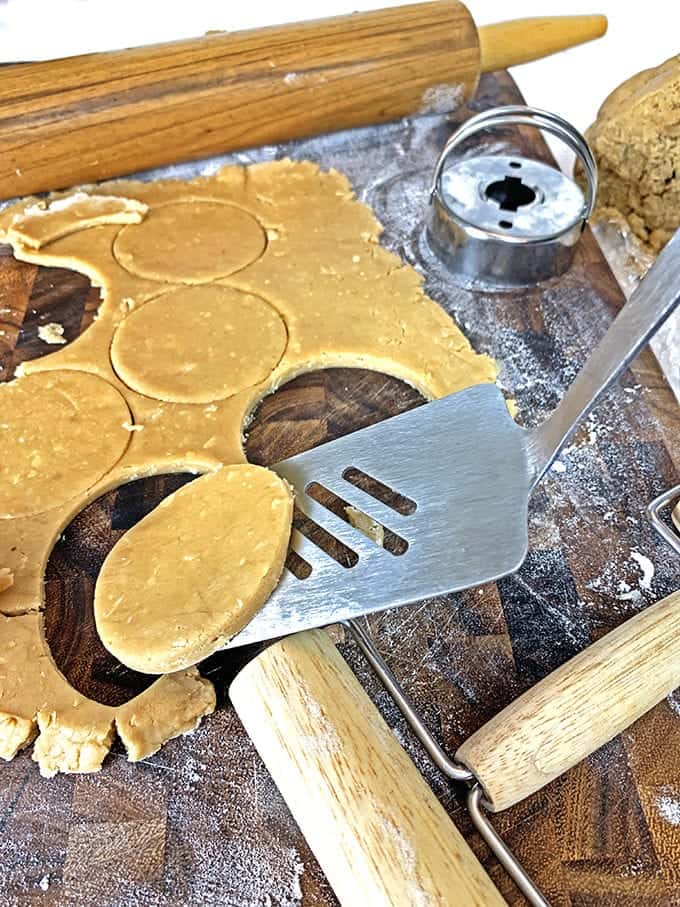
A small spatula is a great way to transfer the cookie layers from the cutting board.
The cookie dough may be a little on the flimsy side after being rolled so thin. To protect each cut-out from tearing, use a small spatula to transfer them to the baking sheet.
Add the Date Filling
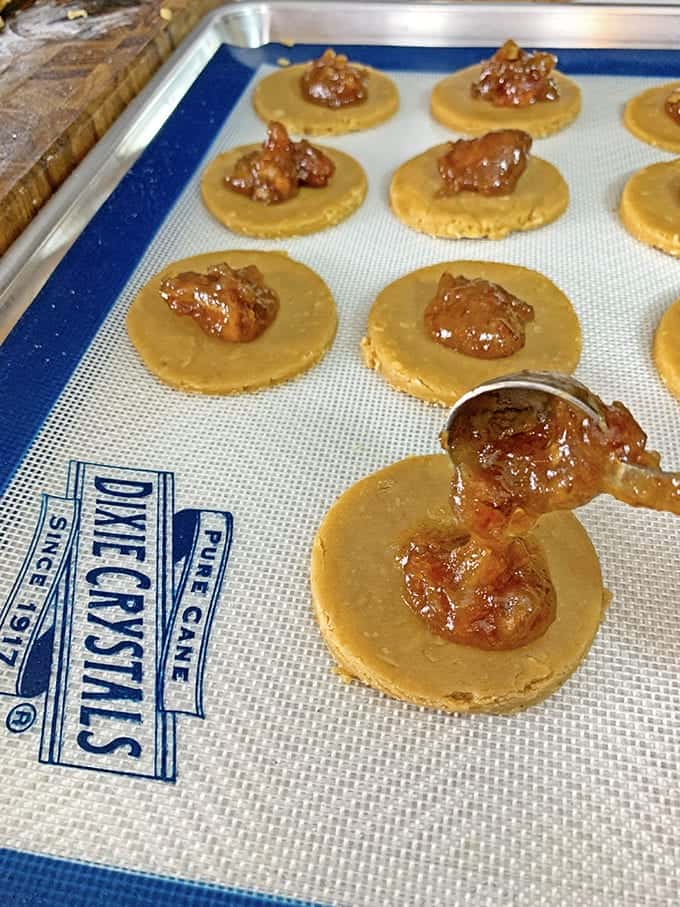
Place the bottom layer of the cookies about one inch apart from each other.
After preparing a baking sheet and placing the bottom layer of cookies on it, take a teaspoon and top each bottom layer of cookie with a generous portion of the date filling.
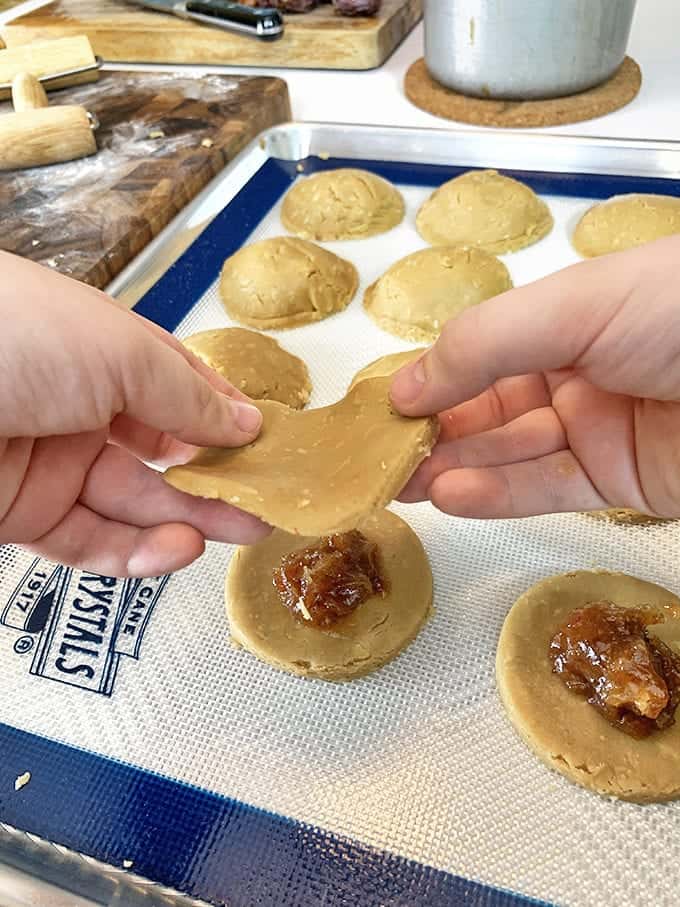
Place a top layer over the date filling of each cookie.
When placing the top layer over the date filling, simply lay it on top of the filling and then pinch the edges of the top and bottom layers together.
If the top cracks a little in the center, don’t worry about it. This acts as a vent during the baking process and adds character to the finished cookies.
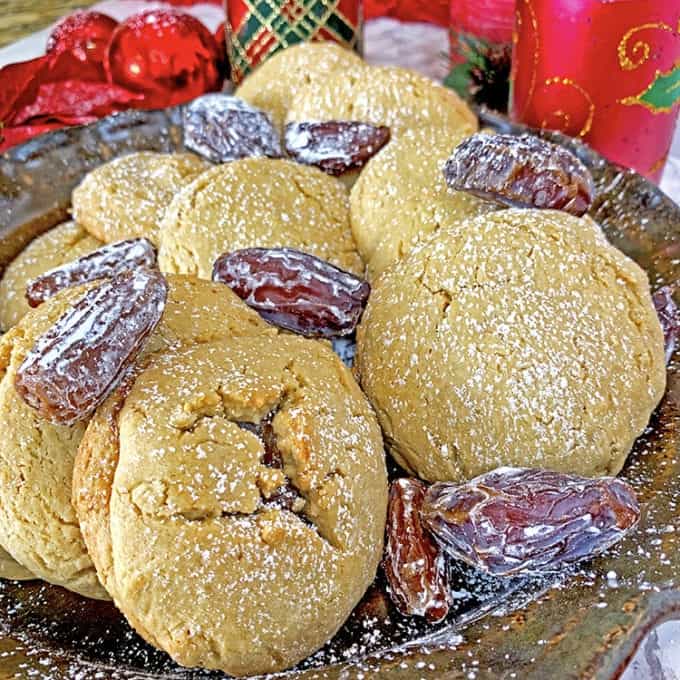
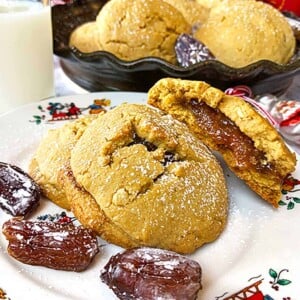
Powdered sugar and extra dates make for a great garnish with these date cookies.
I bake these cookies for about 16 minutes, at 375°. Keep an eye on them and when they are golden brown, take them out of the oven.
Allow these date-filled cookies to cool for a few minutes before taking them off the baking pan.
You can dress them up a bit by sprinkling a little-powdered sugar over them and maybe tossing in a couple of spare dates that have been lightly rolled in powdered sugar.
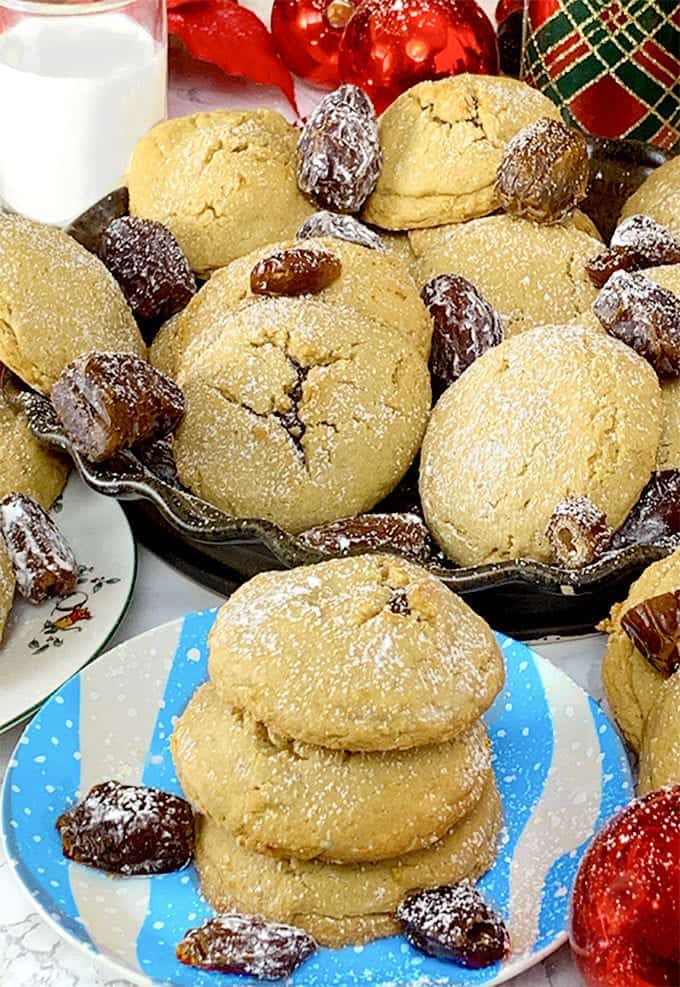
Be sure and try these date cookies, this holiday season, and let us know how you like them!
(New to baking? Learn how to make cookies from our own in-house professional chef, CIA-trained Chef Kat.)
👨🍳 Tried this Recipe? Please leave a ⭐⭐⭐⭐⭐ rating in the recipe card below and leave a comment. We love hearing from our readers!
⏩ Stay in touch with us on social media by following us on Facebook, Pinterest, Instagram, and YouTube!
📬Get our Recipes delivered to your inbox for FREE!
Date Cookies
Ingredients
For the Cookie Dough
- 1 cup shortening
- 1.5 cups brown sugar, light
- 2 eggs, room temperautre
- 1/4 cup milk
- 2 tsp vanilla extract
- 4 cups flour
- 1 cup rolled oats
- 2 tsp baking powder
- 1/2 tsp salt
- 1 tsp baking soda
For the Date Filling
- 2 cups dates, chopped
- 1 cup sugar
- 1/4 cup flour
- 1 cup water
Instructions
- Cream the shortening and sugar together. Add eggs, milk, and vanilla and beat until fluffy.
- Combine flour, oats, salt, baking soda, and baking powder and mix it all together.
- Slowly add the dry ingredients to the wet ingredients and mix thoroughly. Wrap the dough in plastic wrap and place in the refrigerator to chill for at least two hours.
- Meanwhile, make the date filing using a small saucepan to combine the sugar and flour and add the chopped dates. Add the water and cook over medium-high heat while stirring constantly. Use an immersion blender if desired to help blend the date filling together.
- Remove the dough from the refrigerator and using small portions, roll it out onto a lightly floured board to 1/4 inch thickness. Cut with a round cutter.
- Place bottom layer of cookies on a greased cookie sheet, about 1 inch apart from each and put a teaspoon of the date filling on top of each cookie. Cover with another piece of dough and fasten the edges securely.
Bake at 375° until golden brown.
Video
Nutrition
Nutrition information is automatically calculated, so should only be used as an approximation.
Besides our date-pinwheel cookies, you may want to try these holiday favorites too!
More Christmas Cookies
Best Christmas Cookies
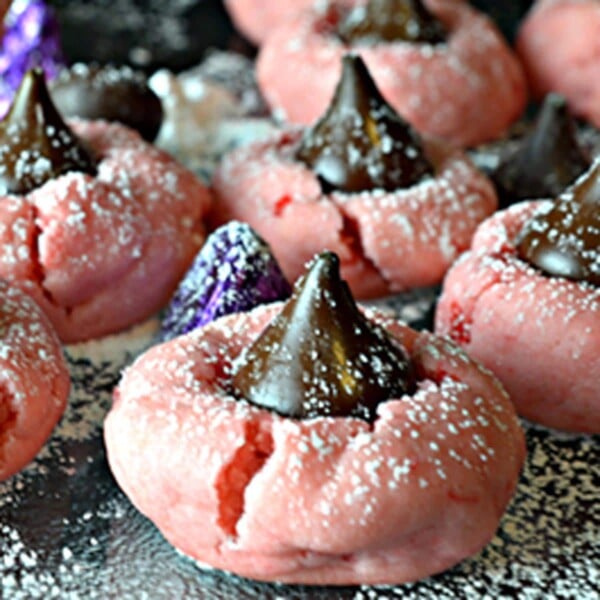
Cherry Kiss Cookies
Best Christmas Cookies
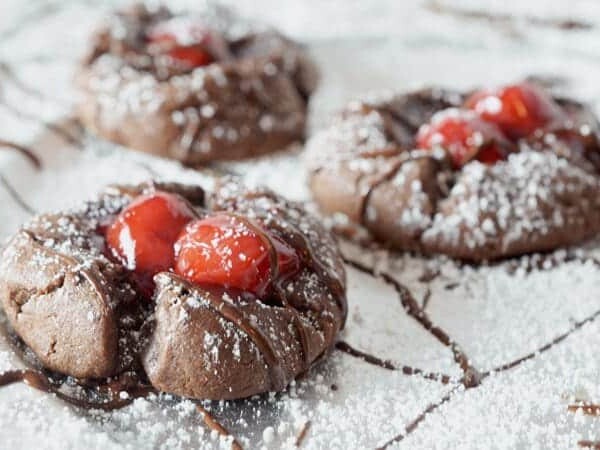
Cherry Chocolate Thumbprint Cookies
Brownies and Dessert Bars
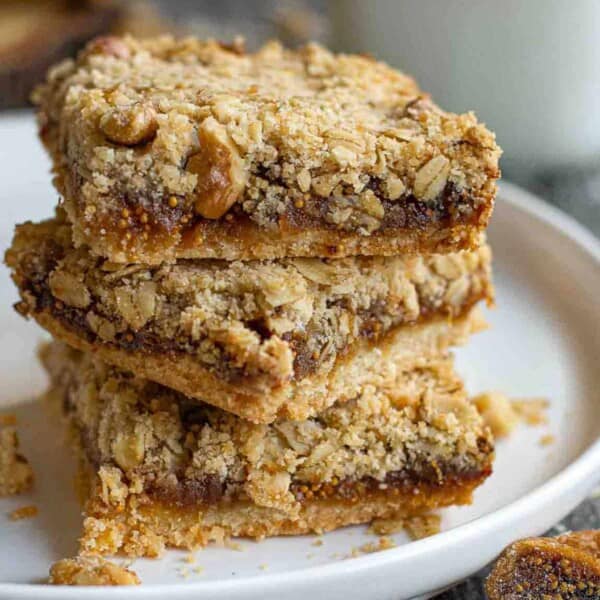
The BEST Homemade Fig Bars (Easy Recipe with Oatmeal)
Best Christmas Cookies
Cherry Christmas Cookies
#ChristmasSweetsWeek recipes:
Beverages:
Brownie Batter Hot Chocolate Mix from The Spiffy Cookie
Christmas Flip from Our Good Life
Easy Cranberry Orange Madras from Love and Confections
Glogg from Culinary Adventures with Camilla
Grinch Cocoa with Peppermint Marshmallows from Kate’s Recipe Box
Salted Caramel Toffee Martini from Family Around the Table
Sparkling Snowfall Cocktail from Seduction in the Kitchen
Sugar Cookie Martini from The Redhead Baker
Breakfast:
Christmas Cranberry Bread from Hezzi-D’s Books and Cooks
Easy Cinnamon Roll Christmas Tree from Jonesin’ For Taste
Overnight Caramel French Toast from Rants From My Crazy Kitchen
Candies:
Cherry Mash Truffles from Strawberry Blondie Kitchen
Chocolate Covered Orange Cheesecake Truffles from Cooking with Carlee
Dark Chocolate Cherry & Peppermint Snowflake Bark from Sweet Beginnings
Grinch Fudge Topped Brownies from Big Bear’s Wife
Pineapple Upside Down Cake Fudge from Lady Behind the Curtain
Red Velvet Fudge from Live Love Texas
Desserts:
Black Forest Tiramisu Parfait from A Kitchen Hoor’s Adventures
Chocolate Bundt Cake from Juggling Act Mama
Chocolate Eggnog Cupcakes from The Crumby Kitchen
Christmas Chocolate Chip Sprinkles Butter Cookies from Moore or Less Cooking
Cookie Butter Pudding Cups from The Beard and The Baker
Cranberry Almond Ecstasy Bars from Tip Garden
Easy Snickerdoodle Cake from Daily Dish Recipes
Eggnog Blossom Cookies from Blogghetti
Eggnog cookies from Karen’s Kitchen Stories
Gingerbread Cheesecake Trifle from My Suburban Kitchen
Gingerbread Cupcakes with Eggnog Buttercream from Tara’s Multicultural Table
Glazed Gingerbread Loaf from 4 Sons ‘R’ Us
Marbled Star Cookies from Eat Move Make
Mint Chip Cookies from The Mandatory Mooch
No Bake Peppermint Eggnog Pie from Who Needs A Cape?
Peppermint Shortbread from Cheese Curd in Paradise
Pepper Jelly Rugelach from Take Two Tapas
Red Velvet Whoopie Pies from April Golightly
Sugar Cookie Cheesecake from Cookie Dough and Oven Mitt
Toffee Thumbprint Cookies from The Bitter Side of Sweet
Ugly Sweater Cake from Mildly Meandering
Vanilla Yogurt Mousse with Cinnamon Apples from With Two Spoons
Vegan Hot Chocolate Layer Cake from The Baking Fairy
Winter Wonderland Snack Mix from An Affair from the Heart




Thanks for posting these brother. These were stored in a roasting pan, on a shelf, above the cellar steps, as I recall. Cool, dark and out of reach to us!
Making them will bring lots of memories back from a time long ago and far away.
there are no eggs listed on the ingredients list. How many 2?
Yes, thanks for pointing out our omission.
Beautiful photos, recipe & memories.