The BEST Homemade Dinner Rolls Recipe
on Nov 13, 2014, Updated Dec 08, 2023
This post may contain affiliate links. Please read our disclosure policy.
Thanksgiving rolls are simple enough that anyone can put them together. The best part is, you can serve these dinner rolls all year long, and anyone can make them. This Thanksgiving recipe makes a perfect recipe for any holiday!
These are as simple to make as our easy homemade bread. I’m living proof! (No “bun” intended.) Read on and I’ll show you exactly how it’s done.
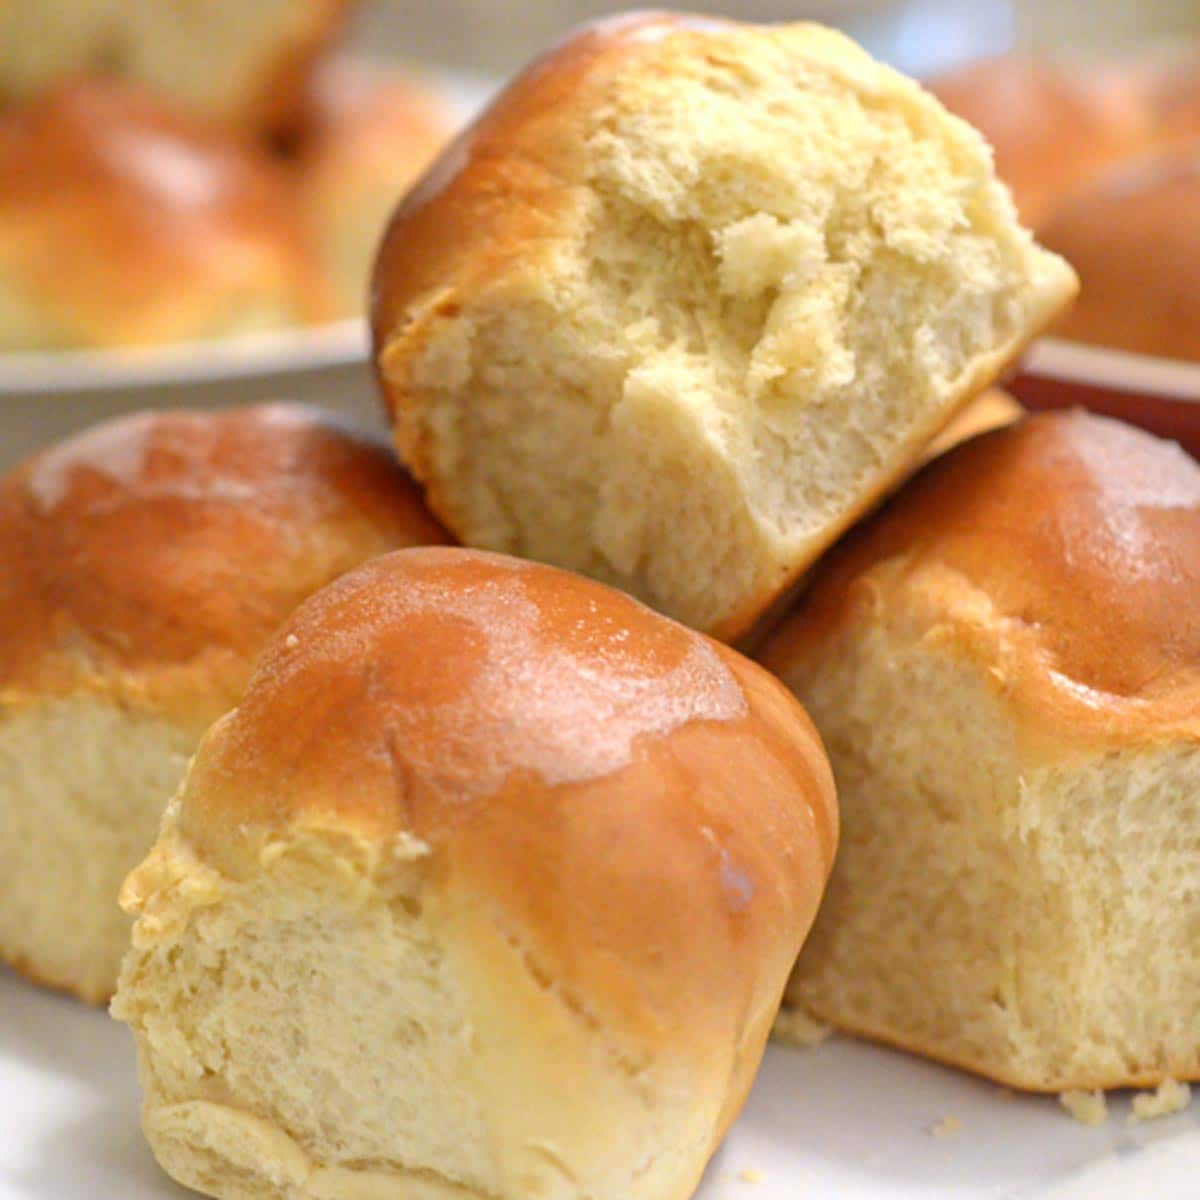
Table of Contents
About These Homemade Rolls
Homemade dinner rolls are a perfect addition to holiday meals or any dinner. They are easy to make with simple ingredients like flour, yeast, warm milk, melted butter, and a little bit of sugar.
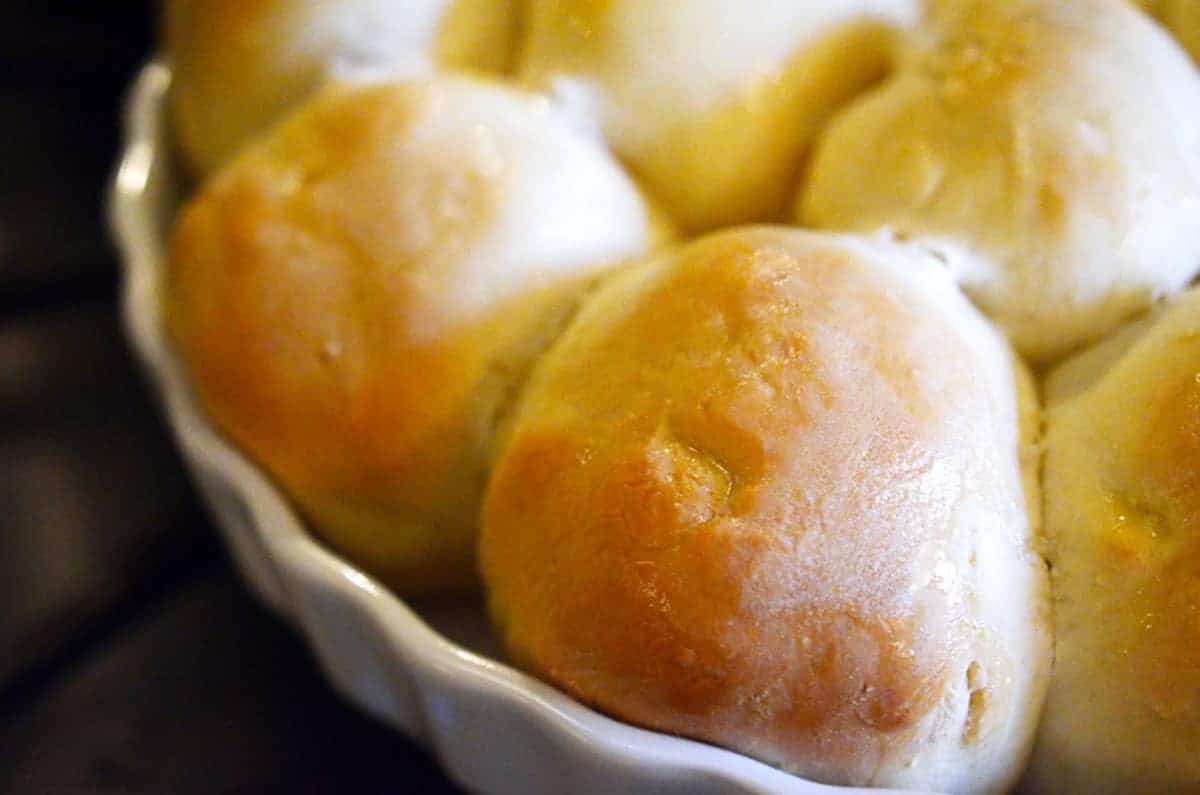
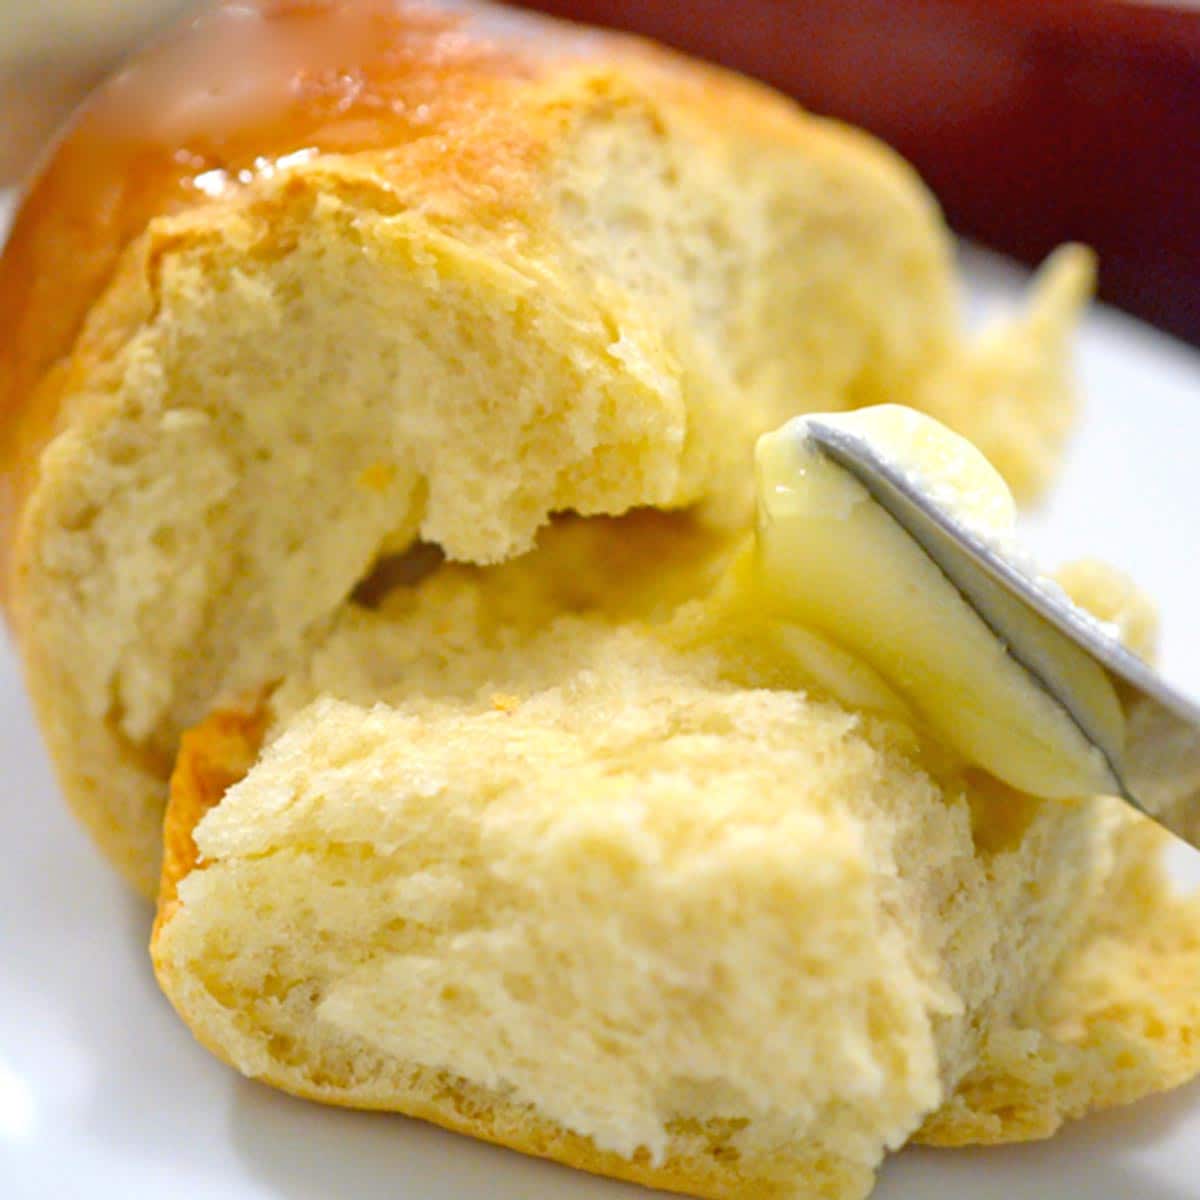
These simple Thanksgiving rolls are soft and pillow-like little bites of heaven. Add a smudge of sweet butter, and you’ll probably start hearing harp music. They’re that good.
Ingredients and Notes
The beauty of this recipe for Thanksgiving rolls is the shortlist of ingredients. Aside from water, there are only seven other things you need. All of them are basic pantry ingredients!
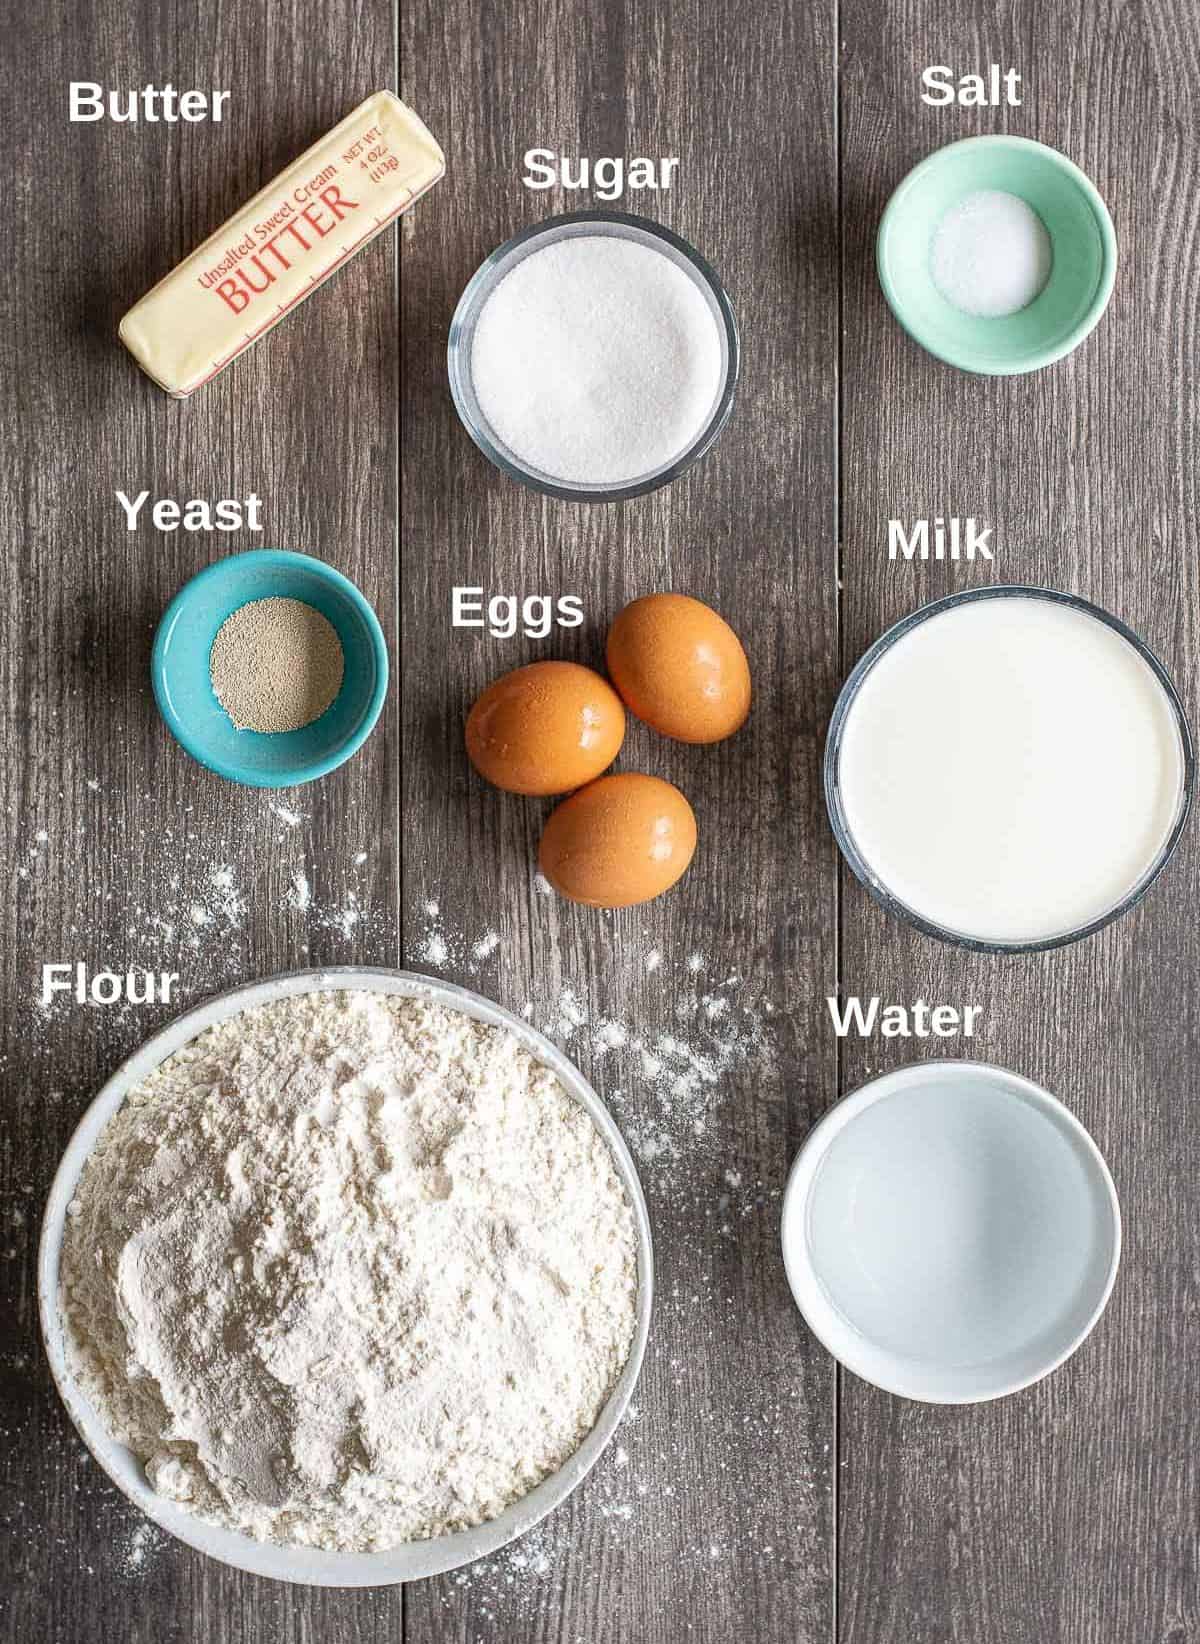
Eggs: Always allow eggs to get to room temperature before using in baking recipes. This makes things bake more evenly and will not cool down the ingredients mixture! Here’s how to quickly bring eggs to room temperature.
Flour – You can use all-purpose flour but try to use bread flour. The higher protein content will give these Thanksgiving rolls a chewier crumb.
Yeast – Be sure and proof it to make sure it is alive and well (active.) Otherwise these rolls won’t rise well! Do this by “proofing” it in some warm water and sugar. Let it set for 10 minutes and if you get a bunch of bubbles, you are good to go!
If nothing happens, this means your yeast is not good. Either the proofing liquid was too warm and killed the yeast, or it has expired.
Expert Cooking Tip – Check the expiration date of your yeast. If it has expired, you’ll need new yeast to make these dinner rolls.
How to Make Homemade Rolls
Whenever you’re working with a yeast recipe, a warm kitchen is always preferred. You want to avoid cold and drafty areas.
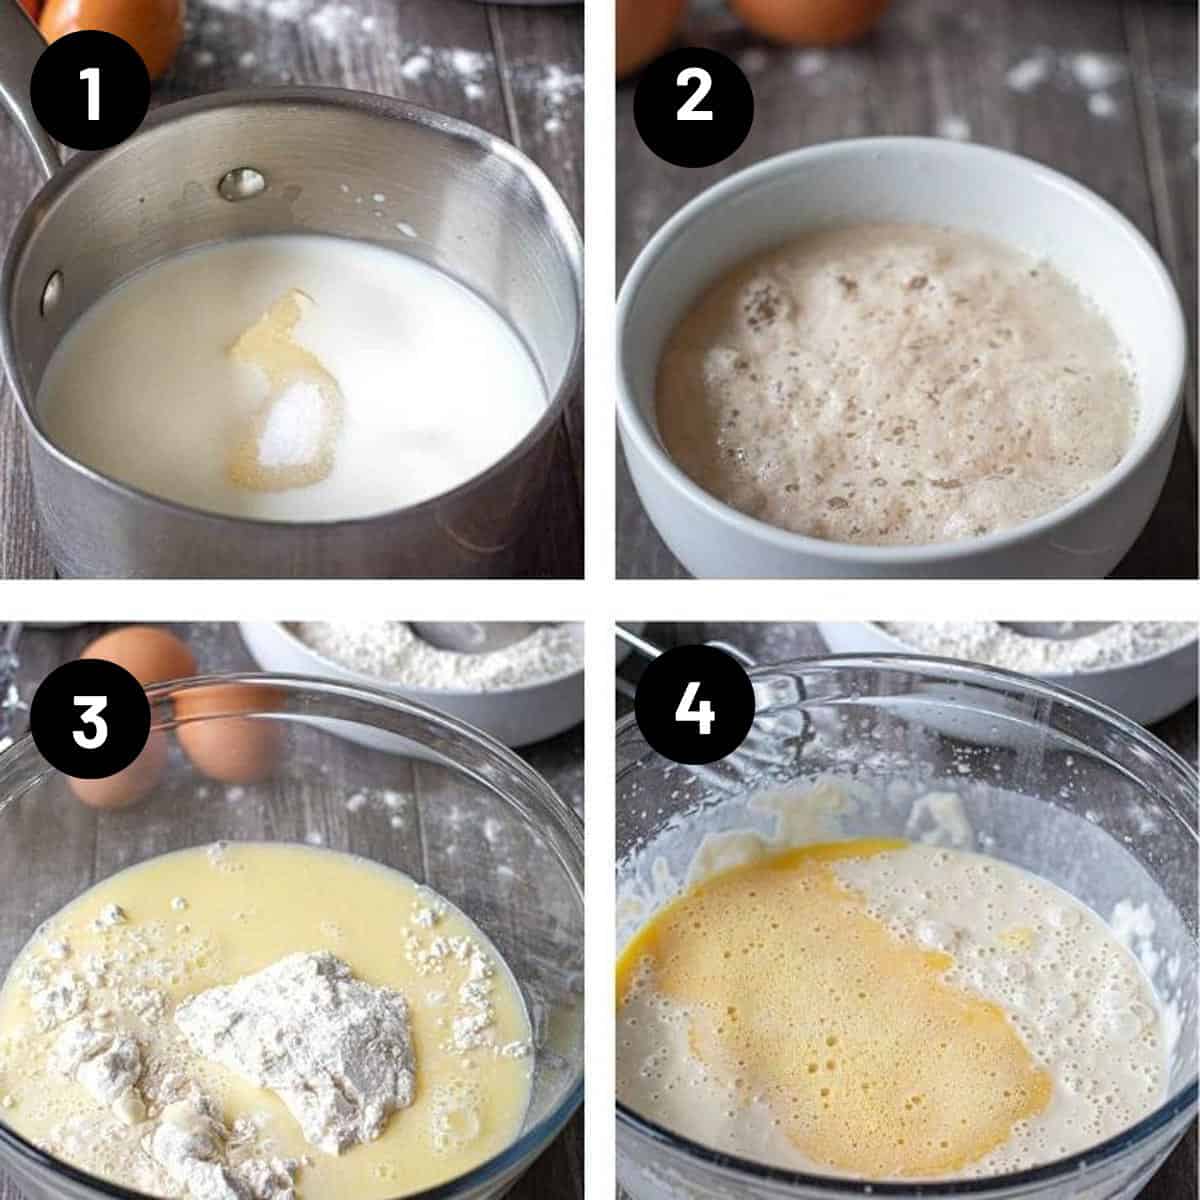
These Thanksgiving rolls are super simple to make! It is a matter of mixing the dry (flour) with the wet (milk and eggs) to the proper consistency. This dough will be wet and sticky!
- Heat the milk, butter, milk, and sugar in a small saucepan, until the butter melts. Do this over medium heat.
- Proof the yeast by dissolving it in 2/3 cup of warm water with 1 tablespoon of sugar. Stir the mixture and allow it to set for a few minutes. You should see some tiny bubbles form which is “proof” that the yeast is alive.
- Combine the flour and milk mixture in a large bowl. Beat on medium-low speed for 30 seconds and then add the yeast mixture. If you have a stand mixer use the dough hook attachment to do this.
- Add the beaten eggs and as much of the remaining flour as is necessary to make the dough soft. You want the dough to pull away from the edge of the bowl, but it will still be very sticky.
Now, you’ll place the dough inside a large bowl and let the dough rise. You can also leave it in the bowl of a stand mixer. Cover it with some plastic wrap or a kitchen towel during the rise time. After the initial rise, we go to the next steps.
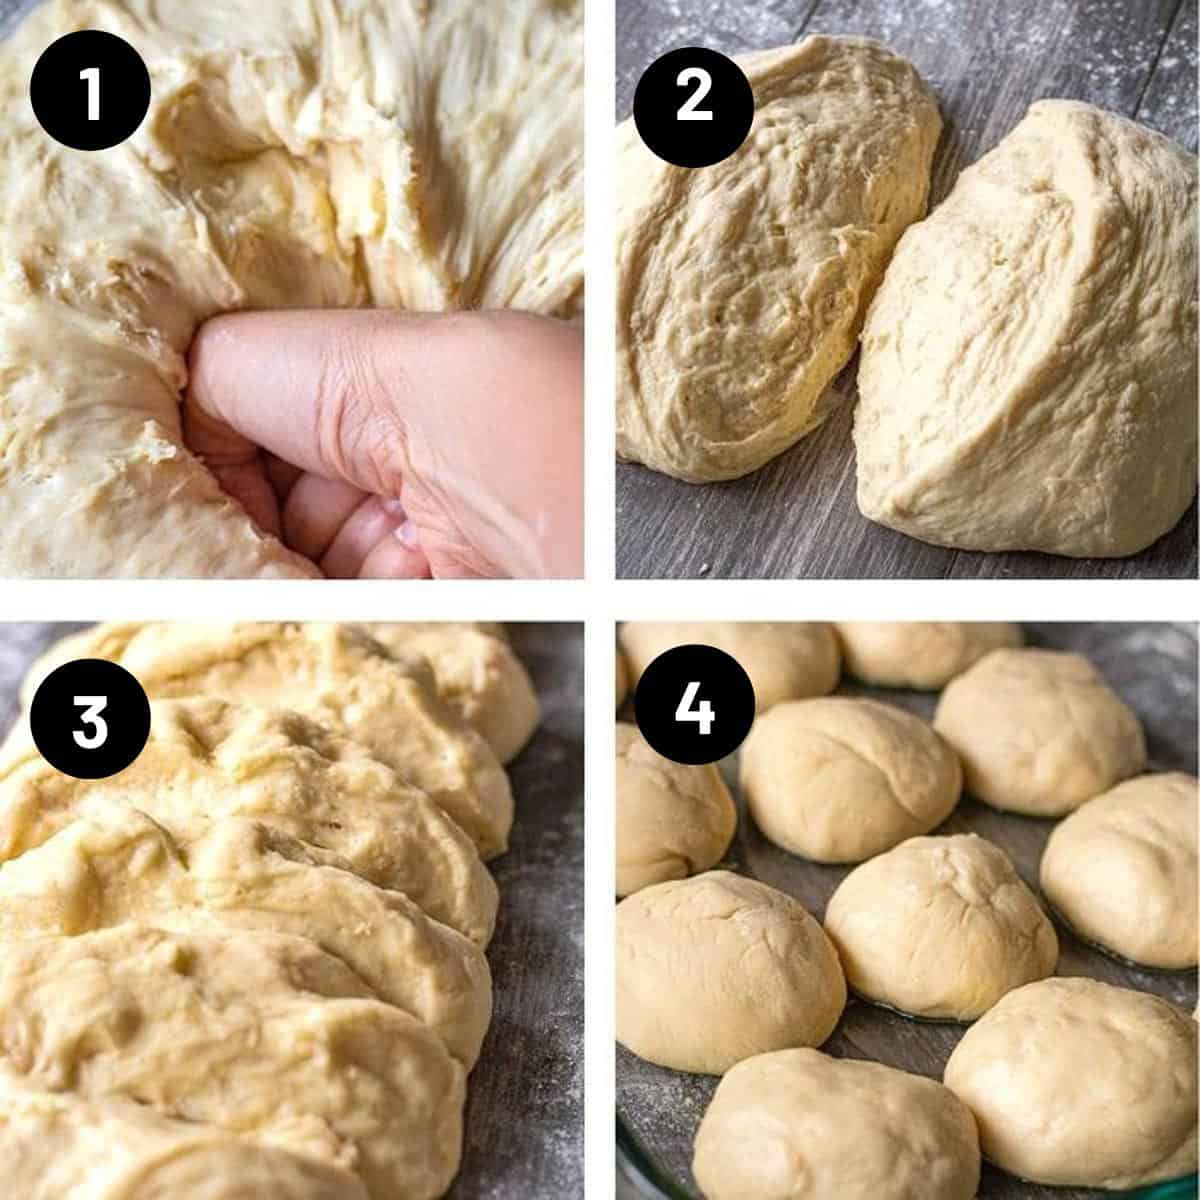
- Punch dough down on a lightly floured surface.
- Divide dough into two equal pieces. You can use a kitchen scale to make sure the pieces are equal.
- Shape each piece into a rectangle.
- Cut each piece of dough into 12 equal sections and form them into a smooth ball.
Place the dough balls on a prepared baking sheet and let the rise for another 30 minutes, in a warm place. You can cover them with a clean kitchen towel during the rising time.
Toward the end of the final rising time, you can preheat your oven to 375° F.
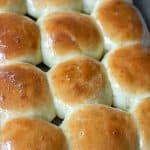
These Thanksgiving rolls take between 15 and 18 minutes to bake. When they turn golden brown they are ready to come out of the oven!
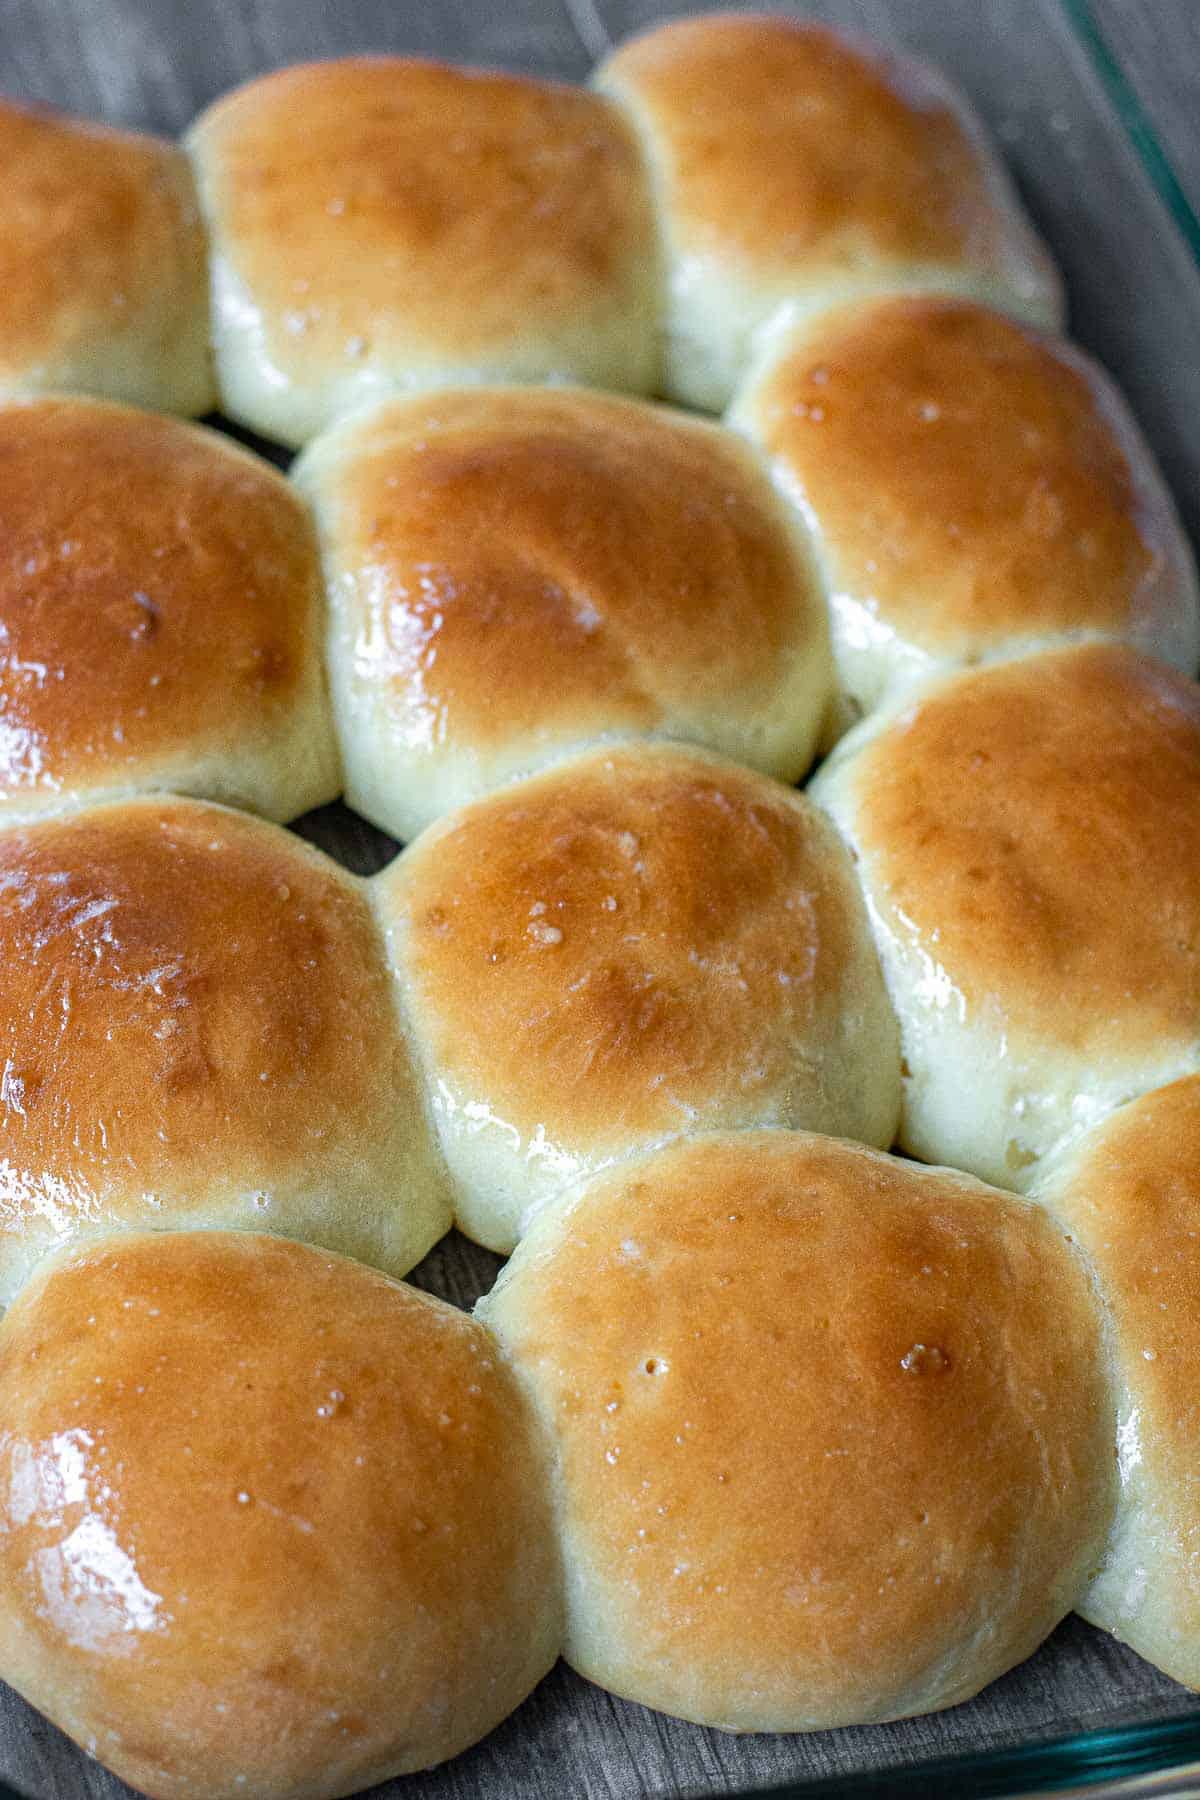
If you want to brush a little melted butter over the top of the rolls at this time, no one would ever judge you! These buttery rolls will make your Thanksgiving dinner, or any special meal, even better.
Substitutions and Variations
Make-Ahead Options – Holiday dinners can be hectic! To make things easier, you can make these ahead of time by refrigerating the dough overnight before baking.
Rapid Rise Yeast – If you don’t have much time, you can use rapid-rise or instant yeast instead of active yeast.
Common Recipe Questions
If you live in a high elevation or very dry place, use only 6 to 7 cups of flour and knead by hand.
You can make these ahead of time by baking them first. Seal them in kitchen wrap and thaw out in the fridge the night before serving. Then, just warm them up in the oven when your dinner is ready.
You can also make these Thanksgiving rolls ahead of time and freeze them before baking. Store them for up to a month in the freezer or three days in your refrigerator.
Butter! Make sure it’s the good stuff though. The quality of your butter is just as important as the quality of your homemade dinner rolls. A couple of other things that taste great on these homemade rolls include cranberry relish and apple butter!
One packet of yeast is equal to 7 grams.
Yes. Cut the ingredients in half and make as directed in the recipe card below.
This easy roll recipe is a nice way for you to build some confidence in your bread-making skills. Besides that, they are truly wonderful!
Thanksgiving rolls are the perfect way to soak up Gravy. Or, just as a simple side dish for any meal! I hope you will give these a try today.
👨🍳 Tried this Recipe? Please leave a ⭐⭐⭐⭐⭐ rating in the recipe card below and leave a comment. We love hearing from our readers!
⏩ Stay in touch with us on social media by following us on Facebook, Pinterest, Instagram, and YouTube!
📬Get our Recipes delivered to your inbox for FREE!
The BEST Homemade Dinner Rolls Recipe
Ingredients
- 2 c. whole milk, if you’re in a pinch, you can use 2%, but whole is best. Don’t use 1% or skim
- ½ cup + 1 tablespoon sugar, divided
- 1/3 cup butter, (5 1/3 tablespoons)
- 2 teaspoons kosher salt
- 2 packages active dry yeast, or 4 1/2 tsp., preferably bread machine yeast
- 2/3 cup warm, 105-115-degree water
- 8-9 cups all-purpose flour
- 3 beaten eggs
Instructions
- Combine milk, 1/2 c. sugar, butter, and salt in a medium saucepan. Heat over medium heat until butter melts. Remove from heat. Allow to cool to lukewarm. I usually rub some ice cubes along the sides of the pan or pop the entire pan in a sink full of ice cubes to cool the mixture down because this step can take forever. This step is really important because if the mixture is too hot, it will kill the yeast.
- While the milk mixture is cooling, dissolve the yeast and 1 tablespoon sugar in warm water. Let stand about 10 minutes. If the yeast hasn’t bubbled, you’ll need to repeat this step–moving on with yeast that hasn’t been activated properly will only end in heartache for you and hate mail for us.
- In a large mixing bowl, combine 3 c. flour and milk mixture. Beat on low for 30 seconds, scraping sides of bowl constantly. Add yeast mixture and beat on high for 3 minutes.
- Add beaten eggs. Why should you beat your eggs first? Same reason you should combine your dry ingredients before adding them to moist ingredients when making cookies and cakes–it ensures everything is well-mixed and can be evenly-distributed through your dough or batter. If you add the whole eggs, your dough may not be as consistent.
- Stir in as much remaining flour as needed to make a soft dough. This dough should be very soft–it will be coming away from the sides of the bowl, but it will still stick to your finger when you touch it. Don’t worry, it will firm up during the rising process. Part of what makes these rolls so good is that they’re so soft and light; if you add too much flour, they will be heavy and dense. Place the bowl in a warm place and cover with a clean towel; allow to rise 1 hour.
- Punch down dough. Lightly flour your work surface and turn dough out onto surface. Divide in half.
- Spray 2 9×13 glass pans with cooking spray. Roll first portion of dough into a rectangle and then cut it into 12 equal-sized pieces. I like to use a pizza cutter because it has a blade on each side, so it cuts right through dough without sticking to the blade. This dough should be very easy to work with. Shape each piece into a ball and place in prepared pan. Repeat with remaining dough in the second pan.
- Cover with a clean cloth and allow to rise in a warm place for about 30 minutes. When dough has about 15-20 minutes to go (depending on your oven), preheat oven to 375.
- Bake for 15-18 minutes or until golden-brown.
Notes
- It is important to note that when baking these rolls, variables such as altitude and differences among ovens can affect baking time required.
- Some readers have left feedback suggesting that a longer baking time may be necessary for these rolls.
- As always, with baking, do not remove from oven until completely done. Moral of this story: Baking (and cooking in general) is not an exact science.
- Be sure to proof your yeast. Here’s a great article from King Arthur Flour on how to proof yeast.
Nutrition
Nutrition information is automatically calculated, so should only be used as an approximation.
Homemade Bread Recipes
Updated from the original post of November 13, 2014.


Can this receipe be cut in half? Am low on flour at present.
Thanks Ev
Yes, you can make a half-batch. Enjoy!!!