Easy Marble Cake Recipe
on May 19, 2018, Updated Jan 02, 2021
This post may contain affiliate links. Please read our disclosure policy.
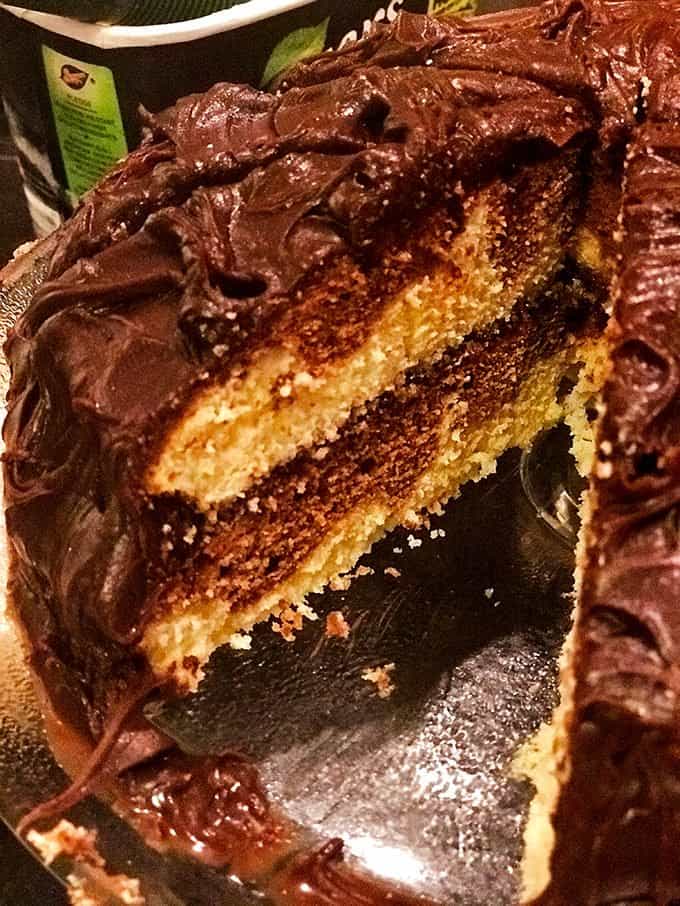
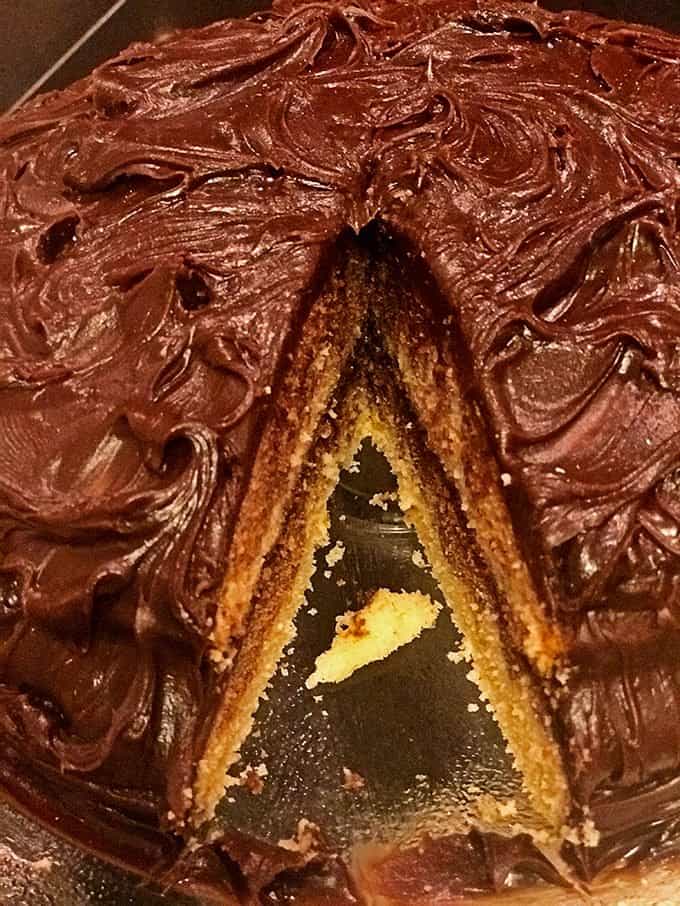
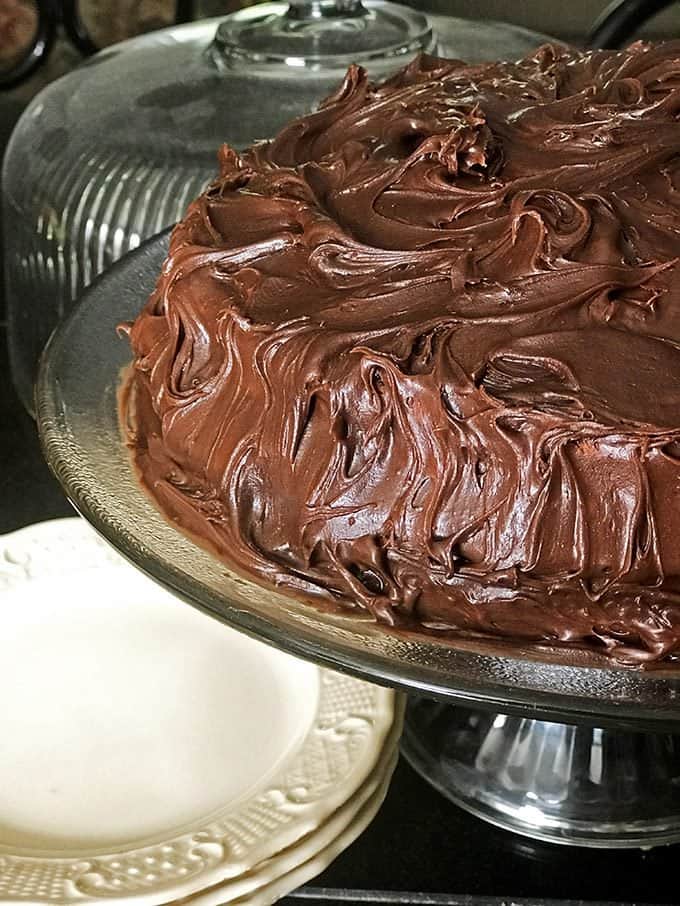
Marble cake is one of many easy cake recipes for you to learn how to make a cake from scratch. It’s so easy to make, even a pair of 12-year-old boys and their 14-year-old brother can do it.
That’s exactly how this yummy birthday cake came about, read on to learn how they did it.
About this
All six of our guys know their way around a kitchen. The four remaining at home range in ages from 12 to 15 and each one of them is pretty special.
They are avid Xbox players, good swimmers, great at catching fish and they love making recipes in the kitchen. All of them. They love great dessert recipes but homemade cakes are at the top of their list. Things like slow cooker pumpkin cake, 7-Up lemon pound cake, and this red-velvet Christmas cake roll are all some of their favorites.
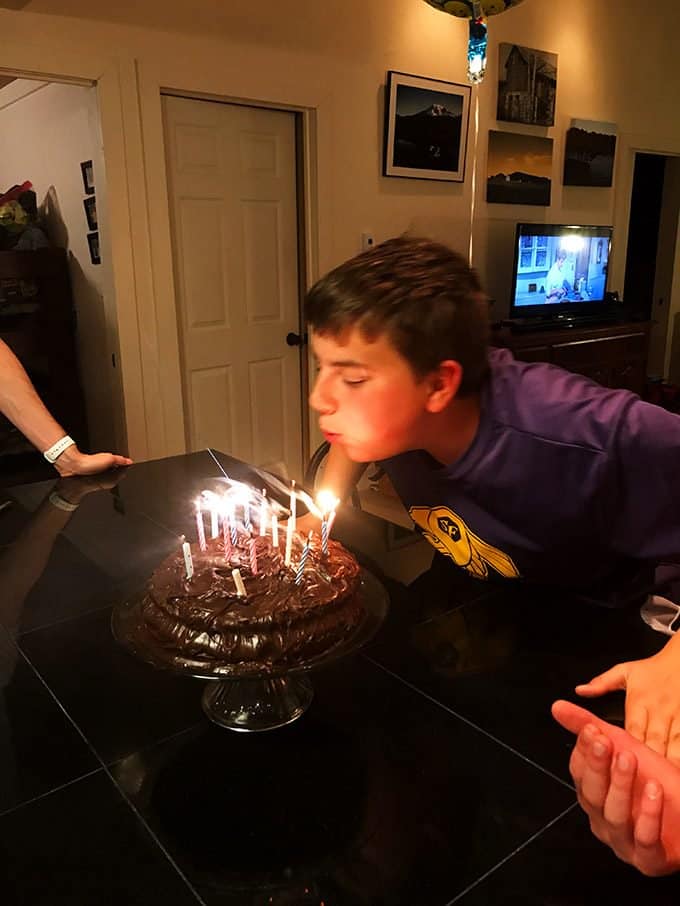
I love having our boys help in the kitchen. Is it a little extra work? Maybe. Is it fun and fulfilling? Most definitely. When the latest birthday among them popped up, I was told in no uncertain terms by our 12-year-old twins that they would be making the birthday cake and it would be a marble cake.
I knew better than to object.
How to make a cake from scratch
I always try to cover the basics when working with our kids in the kitchen, even if they’ve heard it 100 times before. One of the things that I especially love is when we are making a recipe and they “take over”, demonstrating on their own how to bake or cook something.
As with almost anything that goes in the oven, first things first: Getting the oven hot by preheating it to the correct temperature.
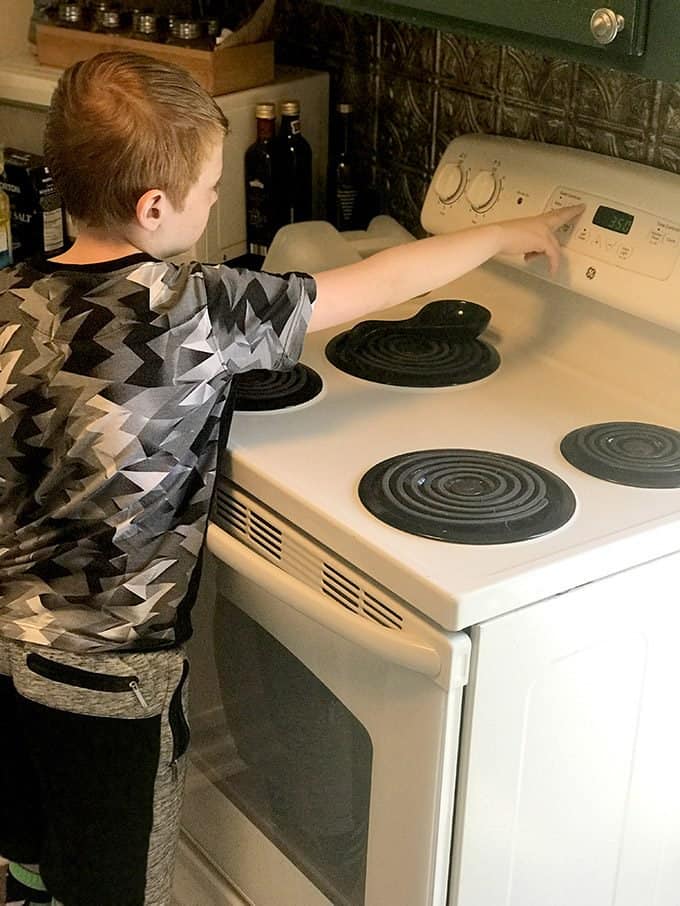
It might sound basic to you but preheating the oven is one of the first things you need to do when making a cake from scratch or baking anything else for that matter. What’s the first thing to do when making any recipe?
Make sure you have all the required ingredients! In terms of the oven though, the correct temperature is extremely important.
If you have an older oven, you may want to invest in an inexpensive oven thermometer that you can hang from one of the racks inside of your oven. Many ovens, both old and new, might run a little hot or a little cool.
A small oven thermometer will tell you exactly what the actual temperature is inside of your oven.
How to make it
The boys made this marble cake recipe into a layer cake, by placing the batter in two separate round cake pans prior to baking.
Before pouring the batter though, the pans need to be prepped with a light dusting of flour and then the boys place parchment paper in the bottom of each pan to help prevent the cake from sticking. See our post on how to grease a cake pan, to learn exactly how to do this.
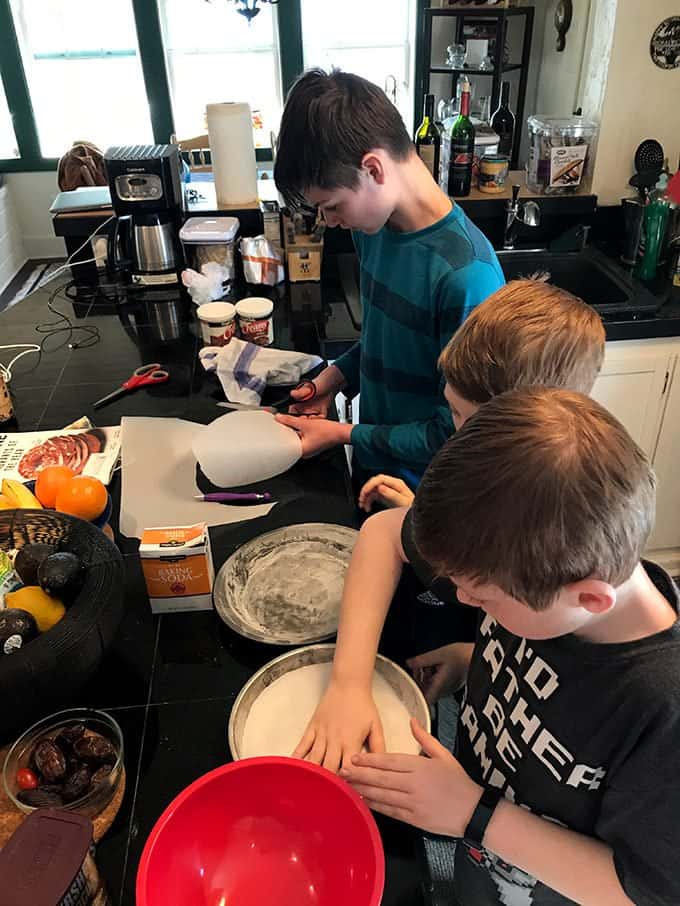
With all good cake recipes, it’s important to properly prepare the pans.
Cake batter can be sticky stuff, especially when it’s time for the cake to come out of the pans after they are cool. To help make sure the cake does not stick to the pans, here is what you need to do.
- Lightly grease the cake pans.
- Dust the cake pans with flour.
- Use parchment paper to cover the bottom of the cake pan.
- Place cake pan on top of parchment paper.
- Use a pencil to trace around the bottom of the cake pan.
- Use kitchen scissors to cut the parchment paper pattern.
- Place cut-out parchment paper in the bottom of the cake pan(s).
What do eggs do in baking?
Almost all cake recipes from scratch use eggs. If you’ve ever wondered what do eggs do in cake, they add their own oil around the protein fibers of the flour, making the cake texture less “bready” and more tender with a short crumb. Eggs also act as a binding agent, helping to hold the cake batter together.
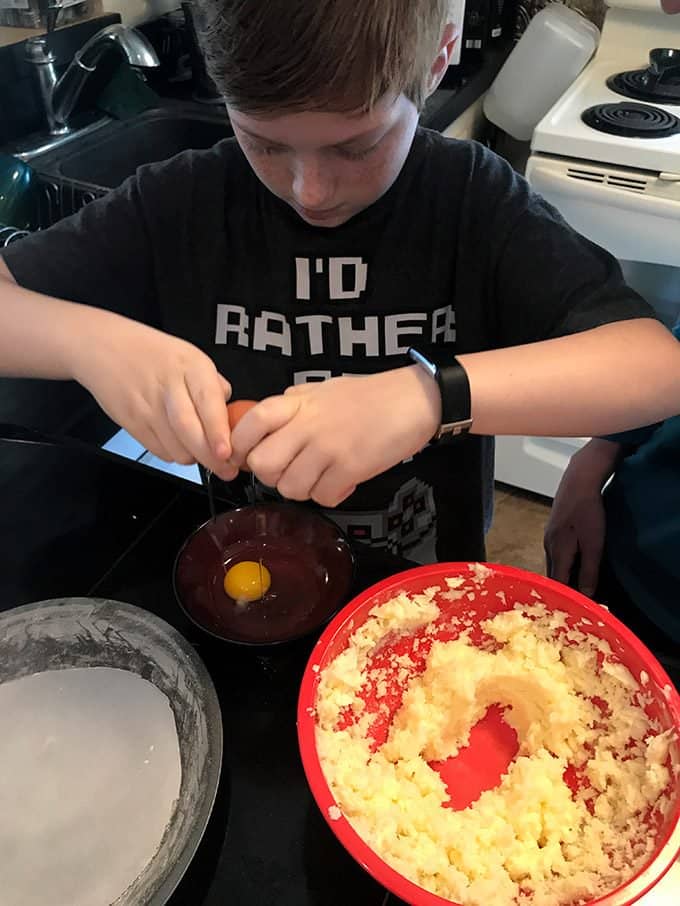
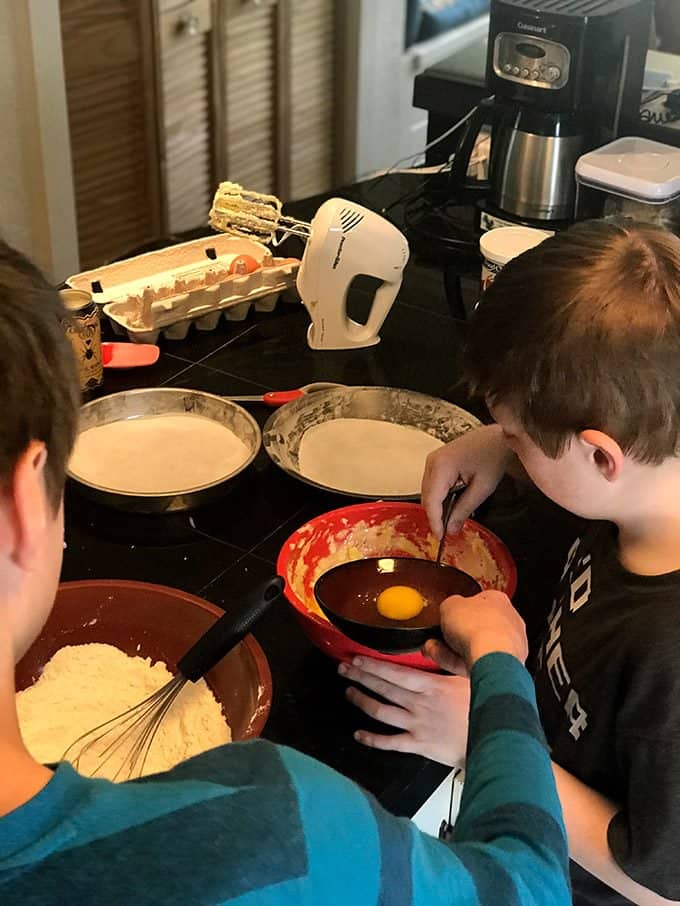
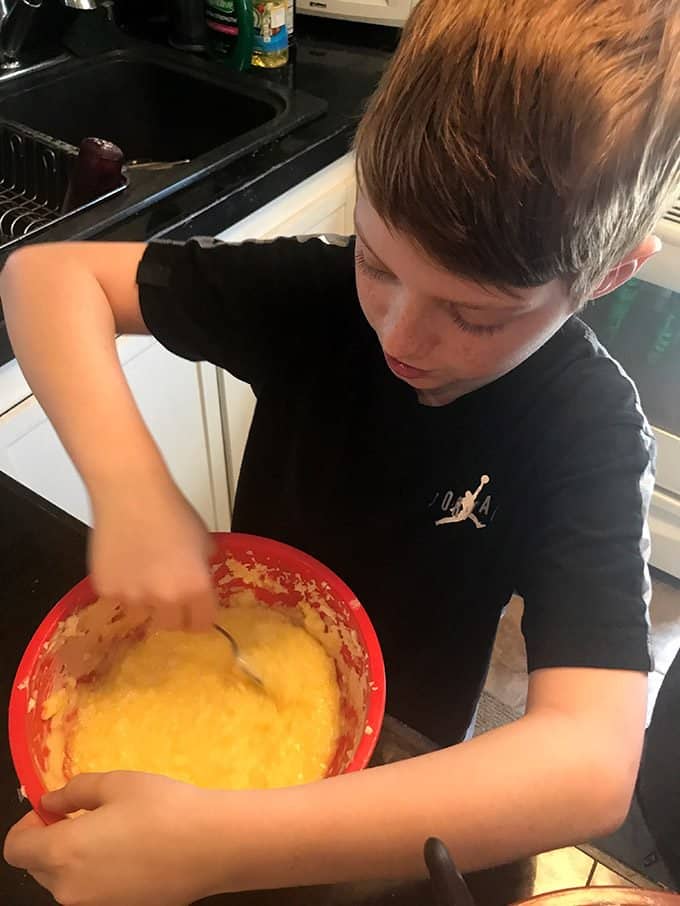
How to mix cake batter
When mixing the cake batter, after the eggs are added, it’s important to not over-stir the cake batter. You want to just fold and gently mix the eggs into the rest of the batter until all the ingredients are just combined.
Over-mixing cake batter can cause the finished cake to be dense and heavy, more like a pound cake.
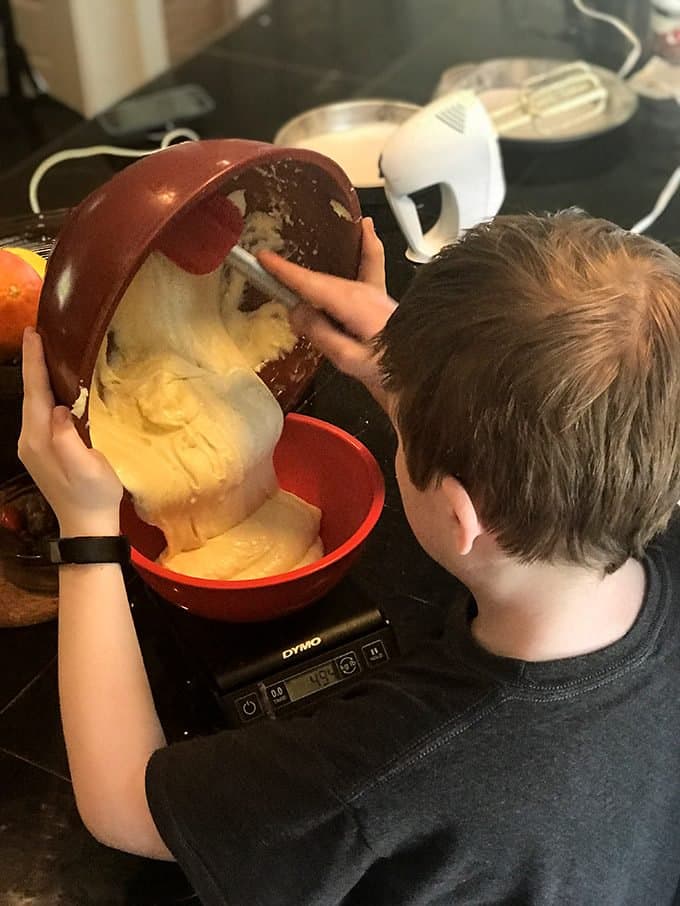
When making this marble cake, you have to divide the cake batter into equal halves. The most accurate way to do this is to use an inexpensive kitchen scale.
It’s also a great way to teach kids (and yourself!) a little math while working in the kitchen.
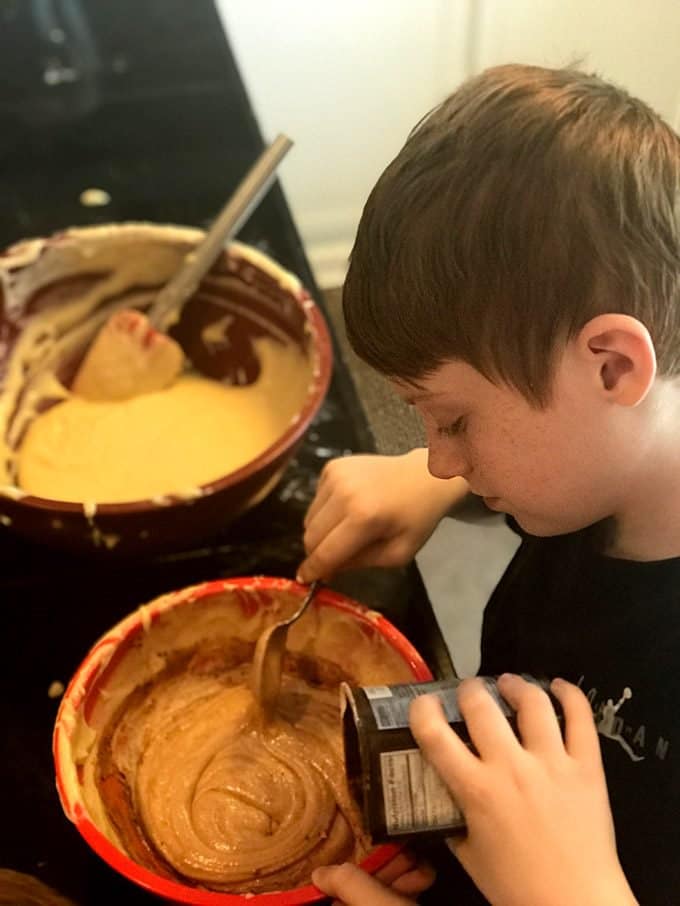
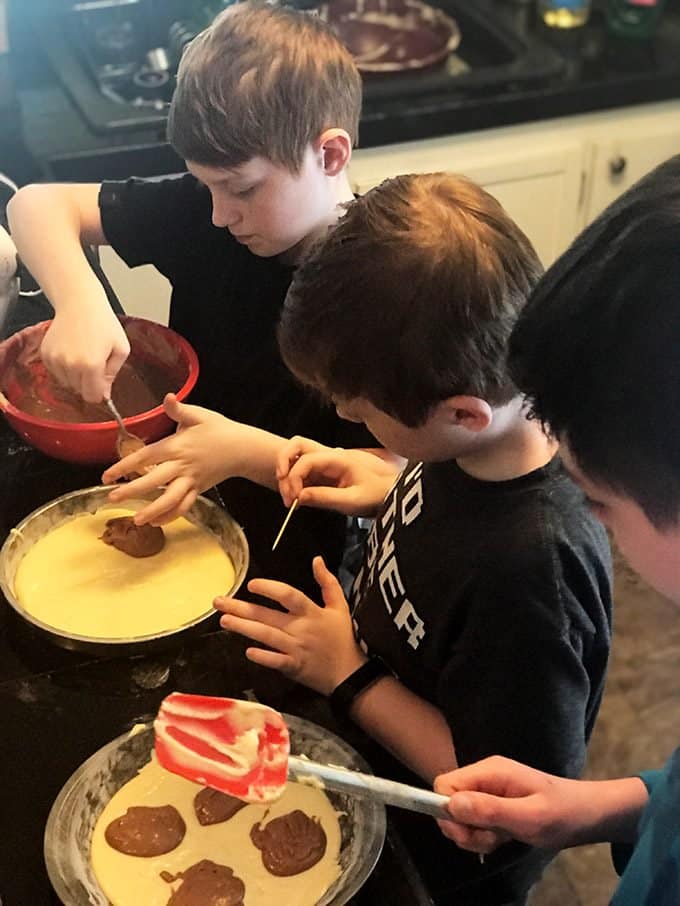
When learning how to make a cake from scratch, it’s important that you allow it to bake properly. Some important considerations for the baking process:
- Bake at the correct temperature.
- Do not repeatedly open and close the door while the cake is baking.
- Opening the oven door cools down the oven and interferes with the baking process.
- Closing the oven door and a partially baked cake will cause a sudden increase in air pressure within the oven, causing your cake to fall in the center.
- Do not over-bake or under-bake.
- Use the toothpick test to determine when the cake is done or when it needs a bit more time. Insert a toothpick in the center of the cake and pull it back out If it has batter stuck to it, the cake is not finished baking. If it comes out clean, the cake is done and should come out of the oven.
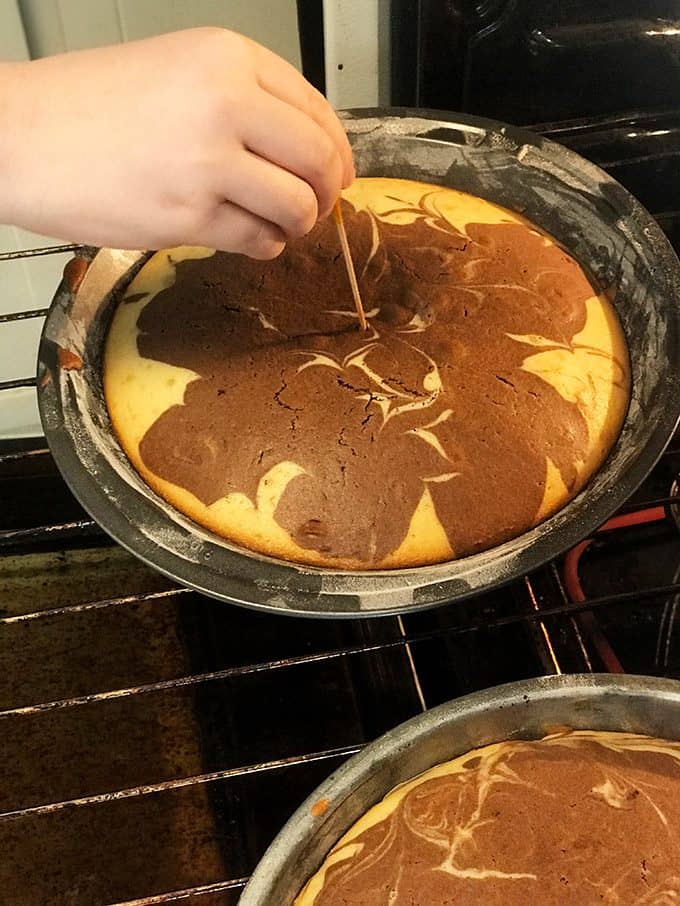
Once this marble cake comes out of the oven, you need to allow it to cool completely before taking it out of the pans. Place the pans on a cooling rack and loosely cover with a kitchen towel.
Once they are cool, use a thin knife to carefully separate the edges of the cake from the pans. Now, you’re ready for the good stuff, the frosting!
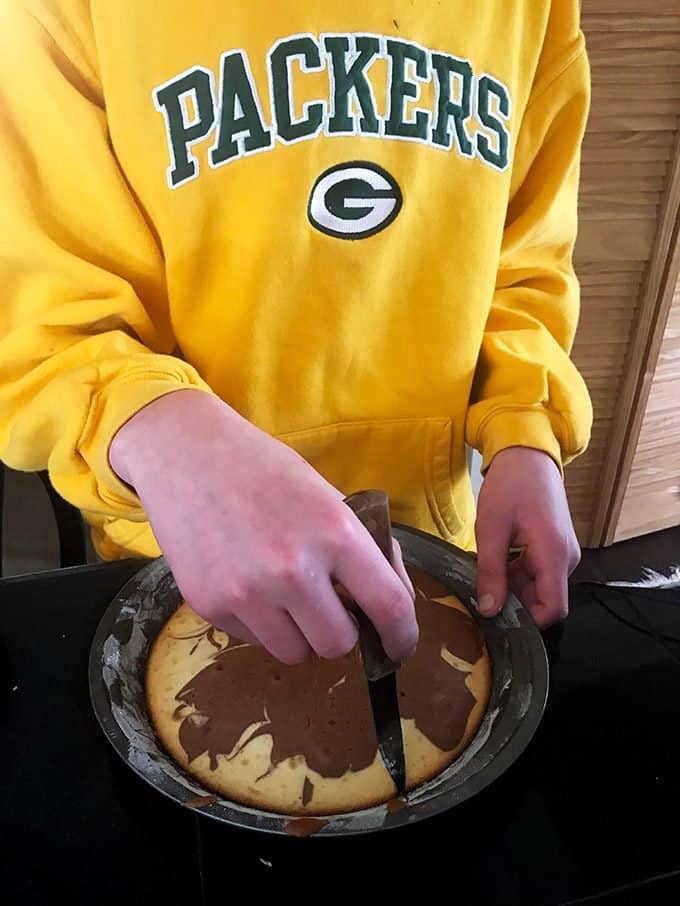
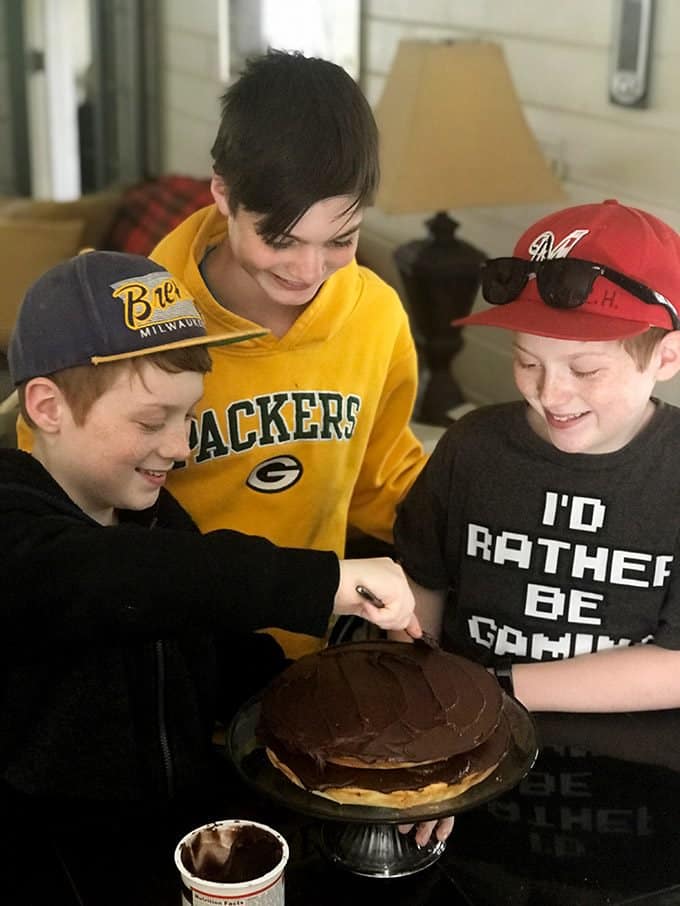
Making homemade frosting is a snap, today the boys decided to take the easy way out and use some of their favorite store-bought frosting. I did not judge them. If you want to go all out when making this marble cake, here are some awesome homemade frosting recipes for you to consider:
- My Favorite Chocolate Recipe and Whipped Cream Frosting from An Affair from the Heart.
- The Best Frosting Ever from Bunny’s Warm Oven.
- The importance of handwashing.
- We also talk about food safety, especially when using eggs and why cleanliness is so important.
- Protecting yourself from getting burned.
- We use oven mitts when handling hot pans.
- How to properly handle knives.
- How to work with electrical appliances like a hand mixer.
- We unplug them before cleaning them with a damp towel after each use and we never immerse them in water.
- Being aware of others around you.
- We have to talk to each other to communicate what step of the recipe we are working on.
- It’s important to “clean as you go”, when working in the kitchen and using a lot of ingredients.
- 3 Ingredient Peanut Butter Cookies
- Easy Calzones Using Biscuit Dough
- Homemade Blueberry Pie
- 1 cup unsalted butter, 2 sticks, plus more for cake pans.
- 3 cups cake flour, may use all-purpose flour but expect a denser cake.
- 1 tbsp baking powder
- 1/2 tsp salt
- 1.25 cups sugar
- 4 eggs, room temperature
- 1 tbsp vanilla extract
- 1.25 cups milk, whole milk or 2% is best.
- 1/2 cup cocoa powder
- Preheat oven to 350° F. Grease two 9-inch-round cake pans then dust with flour, tapping out excess flour. Line bottoms of both pans with parchment paper.
- Whisk the flour, baking powder and salt in a large bowl. Use an electric mixer to beat the butter and sugar in a large bowl , until light and fluffy (3-4 minutes.) Use fork to fold in eggs one at a time, add vanilla and stir until well incorporated, taking care not to over-mix. Stir in the flour mixture in 3 batches, using a fork or low-speed mixer. Alternate adding the milk and stir just until smooth.
- Evenly divide the badder into two bowls. Into one bowl, stir in the cocoa powder. Next, divide the white batter by pouring half in one pan and the remaining half in the other pan. Spread evenly.
- Use a large scoop or small measuring cup and dole the chocolate batter as shown in the pictures. Next, take a toothpick and gently swirl to incorporate the two batters in each pan, creating a marbled effect.
- Bake the cakes for about 30 minutes or until lightly golden and set on top Insert a toothpick in center and it should come out clean when done. Carefully remove cakes from oven and place on cooling rack for 15 minues and then use a small thin knife to loosen edges of cake around the pans. Invert cakes onto wire cooling rack, remove parchment paper, and allow to completely cool for about 30 minutes. Plate and frost as desired.
This isn’t the first homemade cake the kids have put together, but teaching them how to make a marble cake was fun for all of us and a really good exercise in teamwork for them.
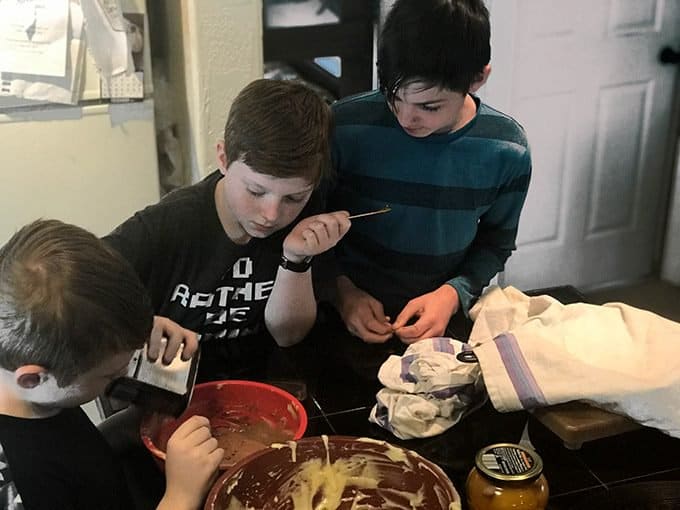
I always try to teach a few lessons besides the recipe at hand and when I asked the boys some things about kitchen safety that they learned from this time in the kitchen, these are some of the points That they came up with.
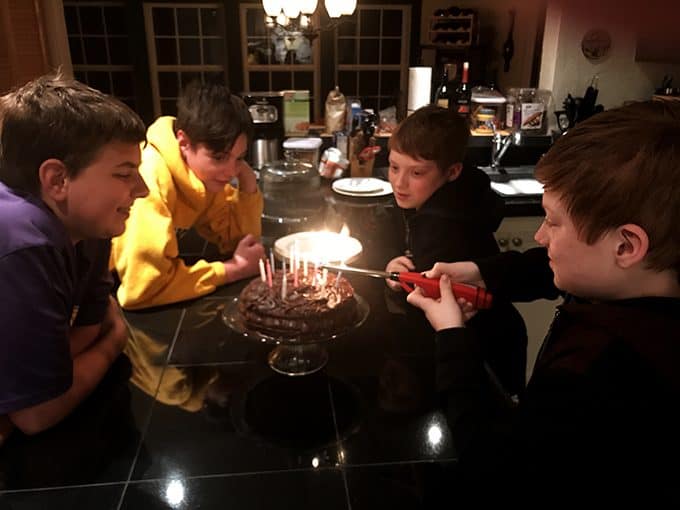
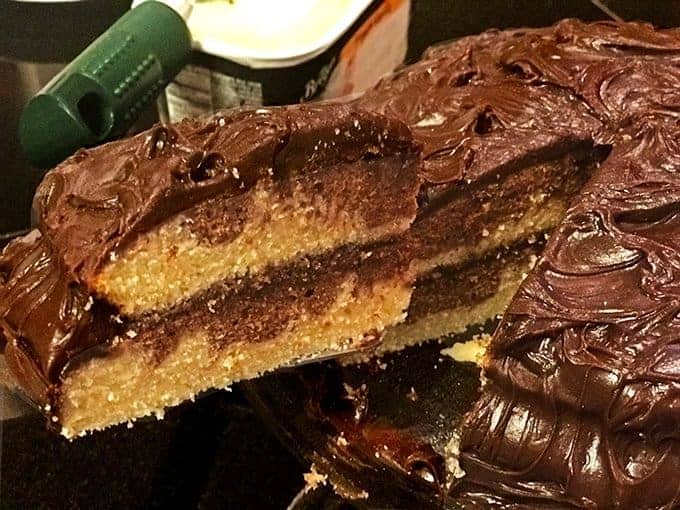
This is an easy marble cake recipe, in fact it’s just a white cake with a little cocoa added.
If you don’t want to learn how to make a cake from scratch, this marble cake can just as easily be made from a box, using the same technique.
But as the boys would say, what fun is that? I’m with them on this one. Speaking of fun, be sure an try this Cookie Monster Cake. Your kids will love it and so will you!
We’ve got plenty of other easy recipes for kids here on Platter Talk. These are a few our favorites:
And finally, here’s a great story from Epicurious that features recipes that kids can cook on their own. Do you cook with your kids?
We would love to hear about your favorite recipes to make with them. Leave us a comment below!
Marble Cake Recipe
Ingredients
Instructions
Nutrition
Nutrition information is automatically calculated, so should only be used as an approximation.


After baking this cake 7 minutes LESS than what the recipe shows (says to cook 30 minutes) it was soooooo overdone that I had to toss it!! I’ve never encountered any cake recipe, with the exception of a bundt cake, that says to cook it 30 minutes. Very disappointing to say the least! My husband wanted a marble cake for Fathers Day and was left without. It also said to add salt when whisking flour, etc., but no where in the ingredients does it mention salt. I’m sure this cake would be great if it had the correct instructions!
He Renise, we’re sorry this marble cake didn’t turn out the way you had hoped. There can be a lot of variability in baking times for cakes. Things like oven calibration, different sized cake pans (thickness, etc) will all affect baking times. 23 minutes sounds like a pretty short period of time for a cake to be overdone! Thanks for the feedback and we hope you have better luck with your next cake!
In the instructions it says to whisk flour, b. powder and salt, but no where in the ingredients does it mention how MUCH salt? HELP as I’ve already started the recipe
1/2 teaspoon of salt (or just a pinch) should do the trick. Hope you loved this homemade cake recipe!
This cake is a work of art and looks delicious. I’d like to say those kiddos are naturals but I know they have amazing parents showing them the way!
I just love this recipe and all of the pictures of the kids in the kitchen. What a wonderful skill you’re teaching them, I don’t think this happens very often anymore! That chocolate cake looks unbelievably delicious! p.s. I also really like that bright yellow sweatshirt! 😀 (Go Pack Go!)
Thanks Debra! Our cheeseheads are great little bakers and we have a lot of fun having them give us a hand. Thanks so much for the kind comments!
Adorable
Thanks, Jeff! They’re great kids, most of the time! 🙂
Wow! Looks delicious and so impressive! clearly these young chefs have had some top notch instruction! Thanks for all the great frosting recipes and love the video of Scott demonstrating how to grease and flour a bundt pan. Happy Birthday to wonderful Joe!
What a beautiful cake and to think that a couple of kids baked this beauty. Kudos to you for giving your kids these lessons that will be so useful later in life. I regret I never took there time to do this with my one children. What happy looking boys you have!
Thanks, Milly. We love cooking with the boys and every once in a while, we are treated to dinner from them!