How to Grease a Cake Pan
Updated Mar 22, 2026
This post may contain affiliate links. Please read our disclosure policy.
If you’ve ever made a cake or a batch of muffins that sticks to the pan when you try to take them out, we are going to show you exactly how to grease a cake pan to keep this from ever happening to you again.
This is one of our favorite kitchen tips! No more cakes that stick. Be gone, we say!
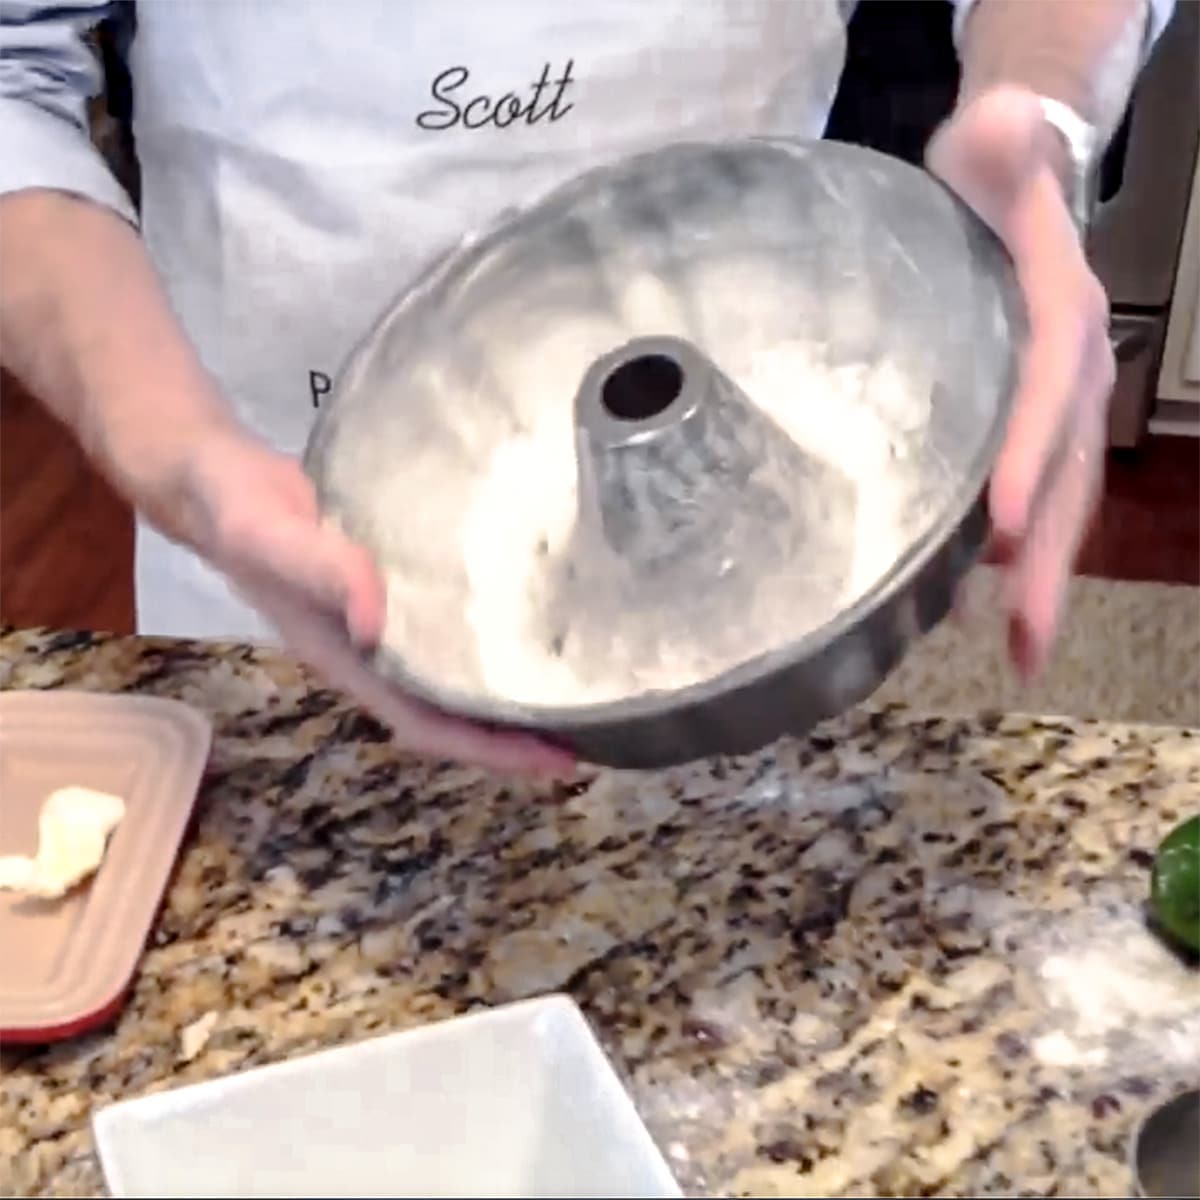
Table of Contents
Why This is Important
Prepping a cake pan is one of the simplest and most effective things you can do in the kitchen to help ensure your cake or muffins won’t stick to the pan. If I had a cupcake for every time I inverted a cake onto a cooling rack only to have a big chunk of it stick to the bottom or side of the pan, I’d be even heavier than what I am today. (I don’t believe in wasting anything!)
The solution to keeping this from happening is super simple. Read on and you’ll see what I mean. Also, if you’re looking for more cooking tips, check out my top 10 tips for being a better cook, what is a stalk of celery (vs a rib), and the best way to thicken a sauce.

Learn how to grease and flour a pan so you can get results as we did with our Chocolate & Coffee Whiskey Cake. Instead of flour, we use cocoa to dust the pan for this cake recipe. How fun is that?![/caption]
The Different ways to Grease and Flour a Cake Pan
There are several different ways to grease baking pans, depending on what you have on hand and what you are baking.
Here’s what you need:
- Some flour
- Some butter (or shortening)
- A cake or muffin pan
- Parchment paper
- A pen or pencil and scissors
The different baking pans to grease and flour
There are as many different types of cake pans as there are cake recipes that go in them. Craftsy does a great job of describing the only 10 pans that any baker needs to own. How many of these do you have?
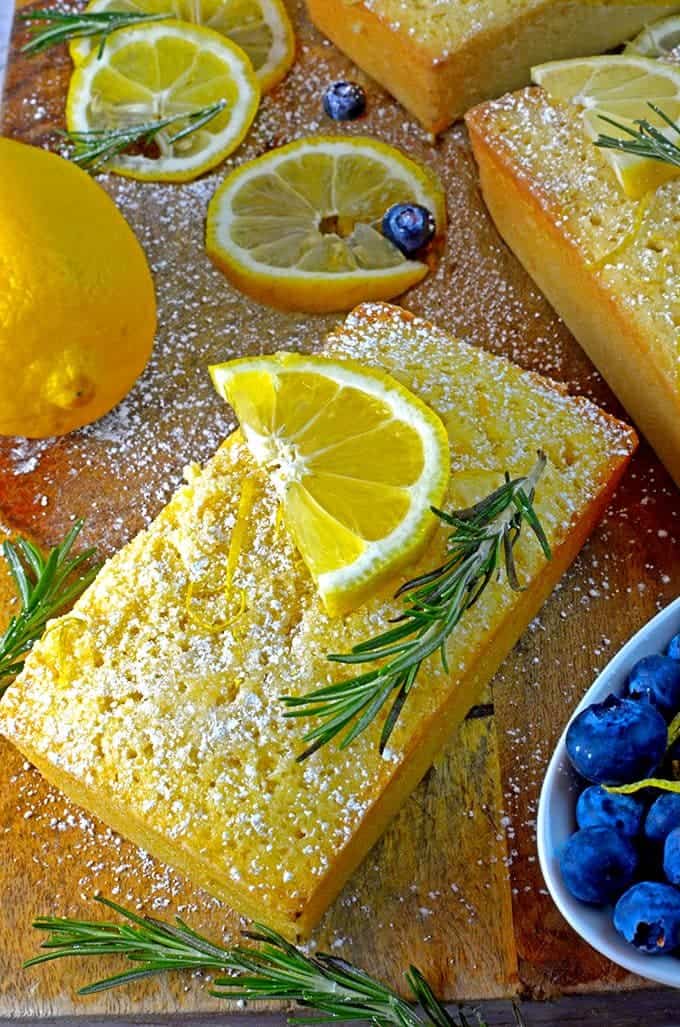
We made our Lemon Loaf Cake in different sizes of loaf pans, each greased and floured to help them turn out perfectly.[/caption]
Save This Recipe for Later (You’ll Want It Again)
⭐ Most readers end up making this in a few days.
How to Flour a Cake Pan
1. Start by using a small amount of room temperature butter or shortening.
- Using your fingertips, spread a thin layer of the butter throughout the bottom and sides of the pan.
- Be sure to cover all inside surfaces of the cake or muffin pan. If you prefer, use a baking spray such as Pam. I prefer butter to use for greasing a pan because of the extra flavor, and I’m a (dairy) farm boy at heart.
2. Put a tablespoon of flour into the cake pan and give it a tap-tap-tap.
- The flour will stick to the greased surface and help create a barrier between the wet batter and the sides and bottom of the cake pan.
- When the cake pan is evenly coated, take it over to your sink and gently bang the excess flour out of the pan.
3. When using round cake pans, you’re going to want to add a layer of parchment paper to the bottom of them.
- To do this, just trace out a pattern of the pan’s bottom on a sheet of parchment paper.
- Then, use your kitchen scissors to cut it out. You can see our kids doing it when they baked a beautiful marble cake for one of their brother’s 15th birthday.
- Some will advise you to grease and flour the parchment paper too.
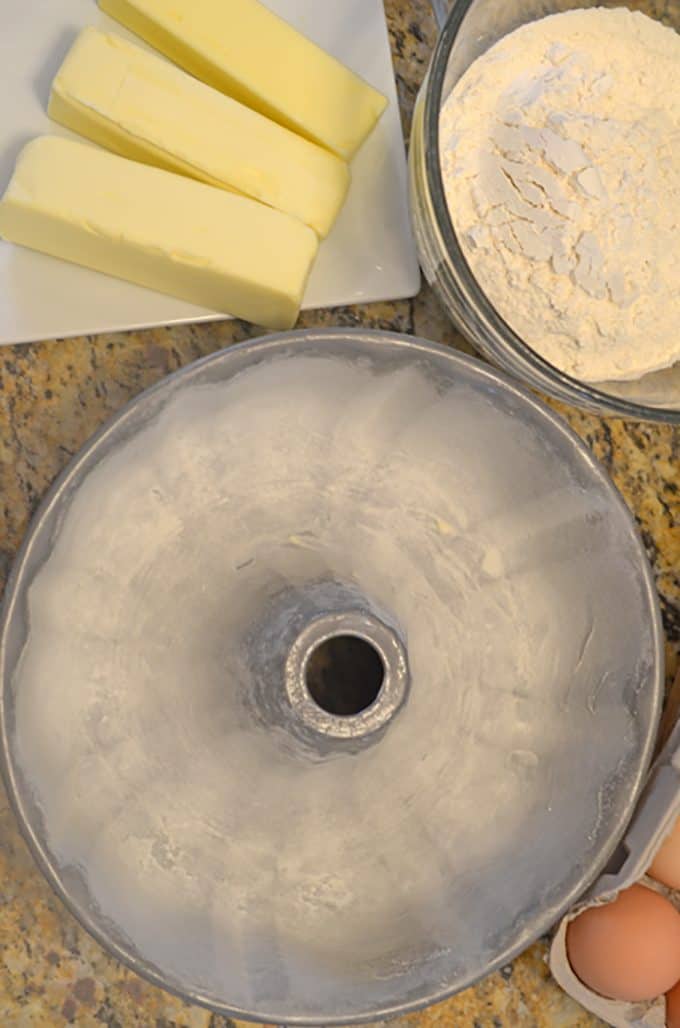
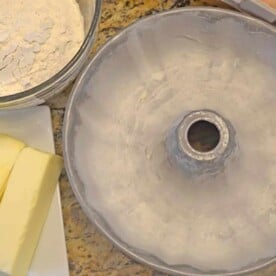
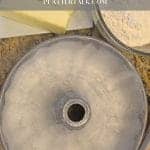
This bundt cake pan is all prepped and ready for the batter for our lemon soda cake.
I hope that you find this guide on how to grease a cake pan helpful.
Sometimes baking can seem overwhelming, and many of you probably have never even attempted to bake a cake from scratch. That’s all understandable because there are a lot of different steps involved. Take them one at a time.
Grab yourself some cake flour and other ingredients and make yourself a cake!
Are you trying to decide on a good cake recipe? Here are some of our favorites!
- Lemon Soda Pound Cake
- Fun spring cake, filled with color, flavor, and great curb appeal.
- Chocolate & Coffee Whiskey Cake
- A New York Times recipe that combines the rich flavors of three classic flavors.
- Boston Cream Cake
- Easy shortcut using a box or store-bought pound cake for a classic Boston Cream Pie knock-off.
- Coconut Carrot Cake
- Classic carrot cake with a toasted coconut on the inside and sprinkled on the outside.
Common questions
What can I use instead of flour?
If you are looking for a flour substitution for greasing a cake pan, you have a couple of options:
- Use a nonstick cooking spray such as Pam. (We love the nonstick sprays with flour in them!) This no grease technique is neat and tidy.
- Use a little bit of sugar, instead of flour, for dusting sweet bread pans. Sugar gives the outside a sweet caramelized crunch and helps prevent the bread from sticking to the pan. This works great for our banana bread recipe.
Do I need to grease the pan for brownies and cookies?
Normally, you don’t have to grease the pan for cookies and brownies. Cookies usually have enough butter or other fat in them to make them nonstick goodies.
Pro Cooking Tip
- When making baking cookies and brownies, line your baking sheet with parchment paper or aluminum foil. If you have some nonstick spray, it’s ok to give a quick coat over the pan lining. This makes clean up super fast and gives you more time to eat those cookies! Game. Changer!
We hope you find this baking tip useful and wish you happy baking!


Become a better baker and learn the difference between baking soda and baking powder. We’ve got many other expert kitchen tips, like how to rinse quinoa, what plates are safe to use in an air fryer, and many more!
👨🍳 Tried this Recipe? Please leave a ⭐⭐⭐⭐⭐ rating in the recipe card below and leave a comment. We love hearing from our readers!
⏩ Stay in touch with us on social media by following us on Facebook, Pinterest, Instagram, and YouTube!
📬Get our Recipes delivered to your inbox for FREE!
How to Grease a Cake Pan
Equipment
- Cake or bread pan
Instructions
- Use fingertips to spread a thin layer throughout inner surface of a cake pan, making sure to cover both the sides and bottom of the pan.
- Place flour in the the pan and tap it around to cover all of the inner surface of the pan. Give the pan a sharp tap over your kitchen sink to discard the excess flour.
- Line the bottom of the cake pan with parchment paper as described above.
Video
Notes
- Substitute sugar for flour for greasing a bread pan for sweet bread.


Any particular kind of flour? All-purpose flour? Instant flour (e.g. Wondra)?
You can use any kind of flour for this. You just want to created a barrier dusting to prevent things from sticking to the pan.
If you cake sticks and becomes a mess,just tear it up and put in a pretty bowl with whipped cream or cool whip. You could layer some cake ,instant pudding,then whipped topping and repeat layers. It will be delicious.
Vicki, You speak the truth. The frosting has saved more than one cake of mine!
Great tips! It’s always so disappointing when you put in the effort to actually make a cake from scratch and it sticks! When my new bundt pan comes in I’m definitely going to put this to work, it has a bunch of details and I don’t want anything to stick!
This is very helpful for new bakers. I remember learning this from my mom and in home economics class but I’m not sure today’s beginners know these essential basics.
This is such great information! I use this technique sometimes, and it always works like a charm! Thanks for sharing!